Free written scope consultation - allowances, timeline, and change-order rules on paper before a single trade is scheduled
Garage Conversion ADU in Pleasant Hill, CA: What It Costs and What It Takes
A Garage Conversion ADU in Pleasant Hill runs $45,000 – $130,000, and most projects finish in four to six months from permit submittal to final inspection. You’re turning an existing attached or detached garage into a permitted living unit: new insulation and drywall, a full bath, a kitchenette, upgraded electrical, and a fire-rated door and window assembly. Call (855) 471-4163 and we’ll walk the structure with you, tell you what the slab and framing can realistically support, and put a written line-item number in front of you before you commit to anything.
How a Garage Conversion ADU Comes Together, Stage by Stage
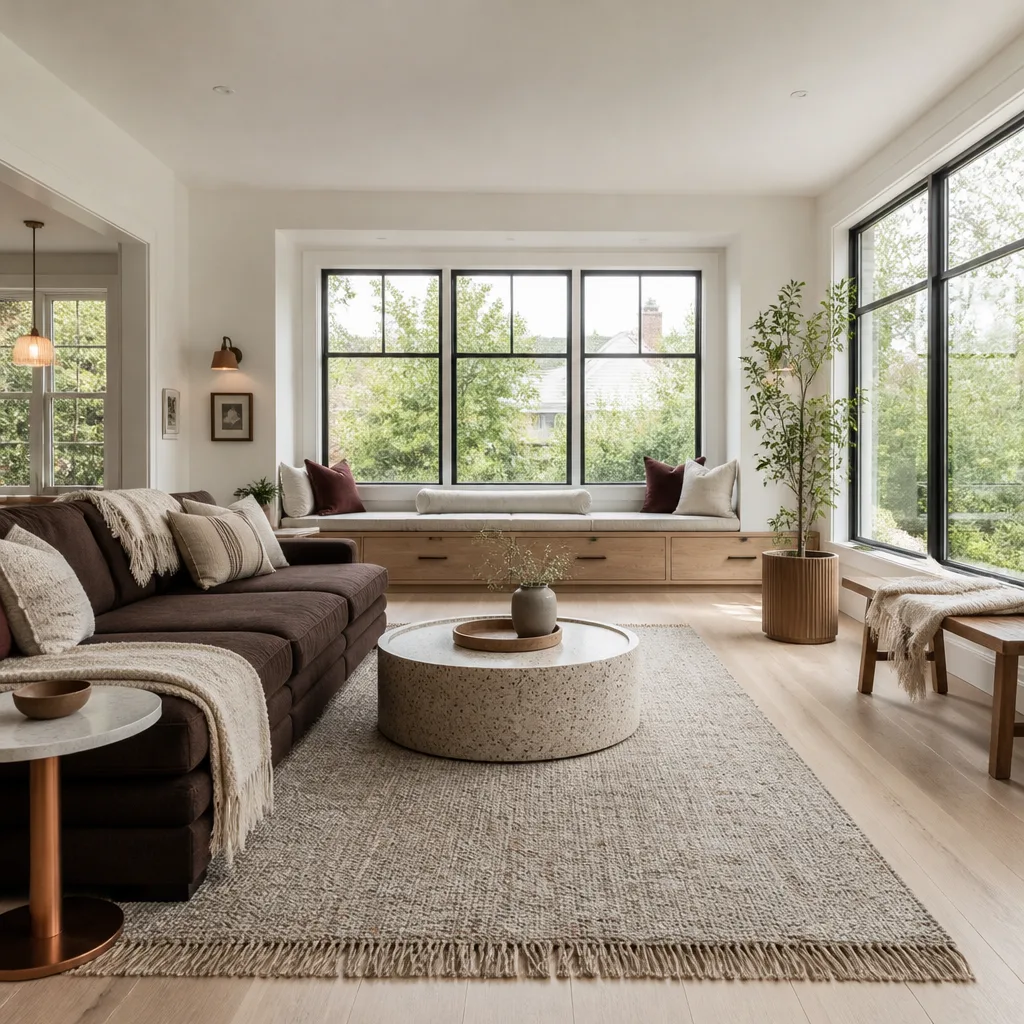
Garage conversions aren’t a mystery once you’ve done enough of them. Here’s the honest sequence, in the order it actually happens.
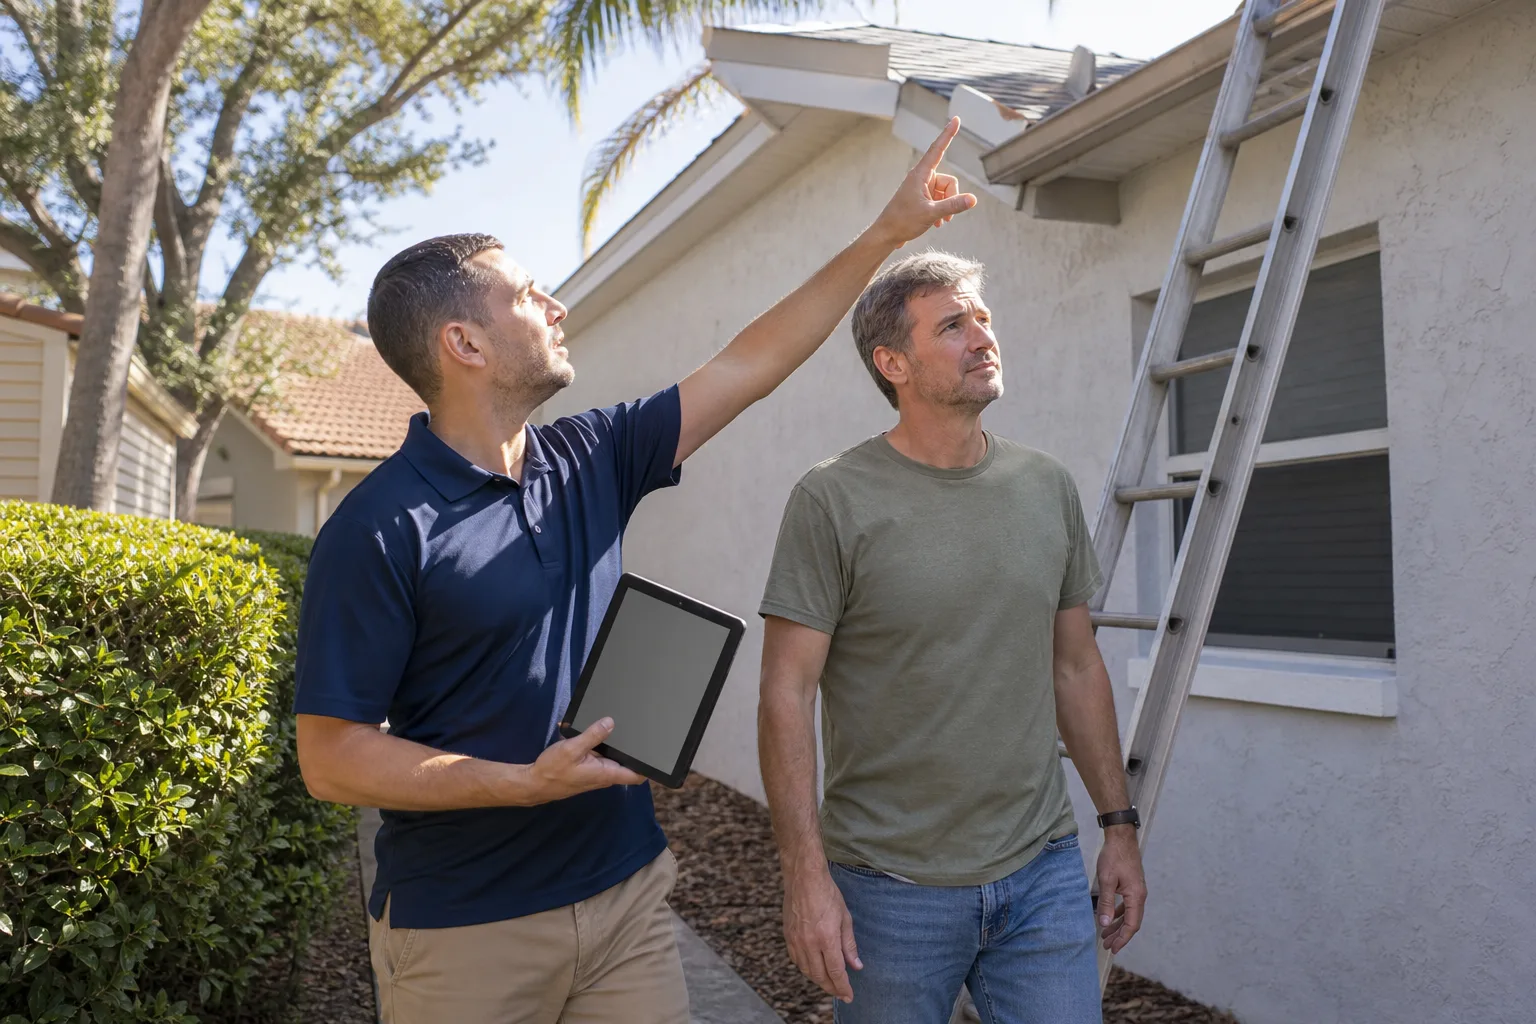
- Stage 1 – Walkthrough and feasibility (week 1). We measure the garage, check the ceiling height, look at the slab, and trace the electrical and plumbing that already exists. This is where you decide the layout: studio open plan, one-bedroom with a partition, or a junior configuration. We flag the issues before you spend money on design.
- Stage 2 – Design and permit submittal (weeks 2 – 8, sometimes longer). Drawings go to the City of Pleasant Hill with structural, energy, and life-safety documentation. You choose the exterior door and window ratings here, which matters in the Diablo Valley wind corridor. Plan check in a built-out suburb like this is not a rubber stamp; expect at least one round of comments on egress or ceiling height.
- Stage 3 – Demo and rough-in (weeks 2 – 4 of construction). Out come the old garage door, the opener tracks, any shelving, and the existing slab finish. Then we trench for plumbing, run the new electrical panel and circuits, add the ceiling and wall insulation, and frame any partition walls. You decide fixture locations now, not later.
- Stage 4 – Rough inspection, then close-up (roughly one week of inspection plus three to four weeks of finish work). The City inspects framing, electrical, plumbing, and mechanical before anything gets covered. Then drywall, tape, texture, paint, flooring, cabinets, the bath tile, and setting the final door and windows. This is where your finish choices show up in the schedule, so pick early.
- Stage 5 – Final inspection and handover (week 5 – 6 of finish). Final inspection covers everything from smoke and CO alarms to the egress window and the swing of the entry door. After the sign-off, you get a walkthrough, and your warranty starts under the 730-Day Done Right Promise.
Because the garage sits at grade and the existing slab is rarely level, we also plan a moisture barrier and a floor build-up early. That single detail is the difference between a dry unit and a musty one in five years.
Styles & brands we work with
- Kitchen remodeling
- Bathroom remodeling
- Home additions & ADU
- Roofing
- Windows & doors
- Driveway & pavers
- Fence
The Choices You’ll Actually Make Between
Every conversion comes down to a handful of decisions. Here’s what each one costs you in money and in performance.
- Heating and cooling: a ductless mini-split is the standard for a unit this size, and it’s flexible about where the head goes. A through-wall heat pump saves ceiling space but locks you into one location. Either is fine; the mini-split generally performs better in the inland heat.
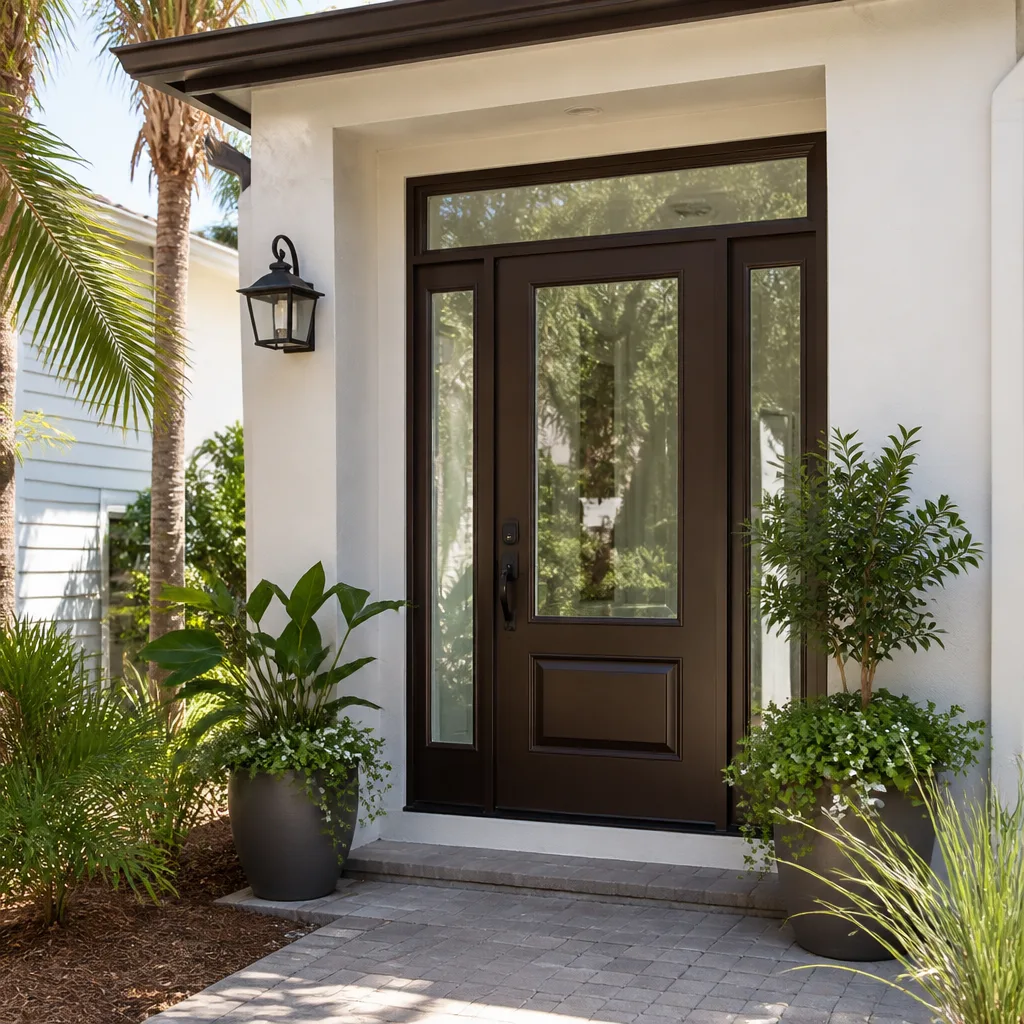
- Entry and window ratings: exterior door and window assemblies need to be rated for wind and weather. Impact-rated or reinforced assemblies cost more up front and hold up better when the valley gets a real wind event. This isn’t a place to save money.
- Flooring: luxury vinyl plank over a moisture barrier handles the concrete slab well and holds up to tenants. Engineered hardwood looks warmer but wants a flatter, drier subfloor. Tile in the bath is essentially non-negotiable.
- Kitchenette and bath fixtures: a compact under-counter fridge, a two-burner cooktop, and a 30-inch shower keep the footprint tight. Going bigger eats into your living space and your budget.
- Insulation and drywall versus open ceiling: a closed, insulated ceiling is quieter and code-required in most cases; exposed structure looks loft-like but rarely passes energy review in this climate.
What a Garage Conversion ADU Costs in Pleasant Hill, CA
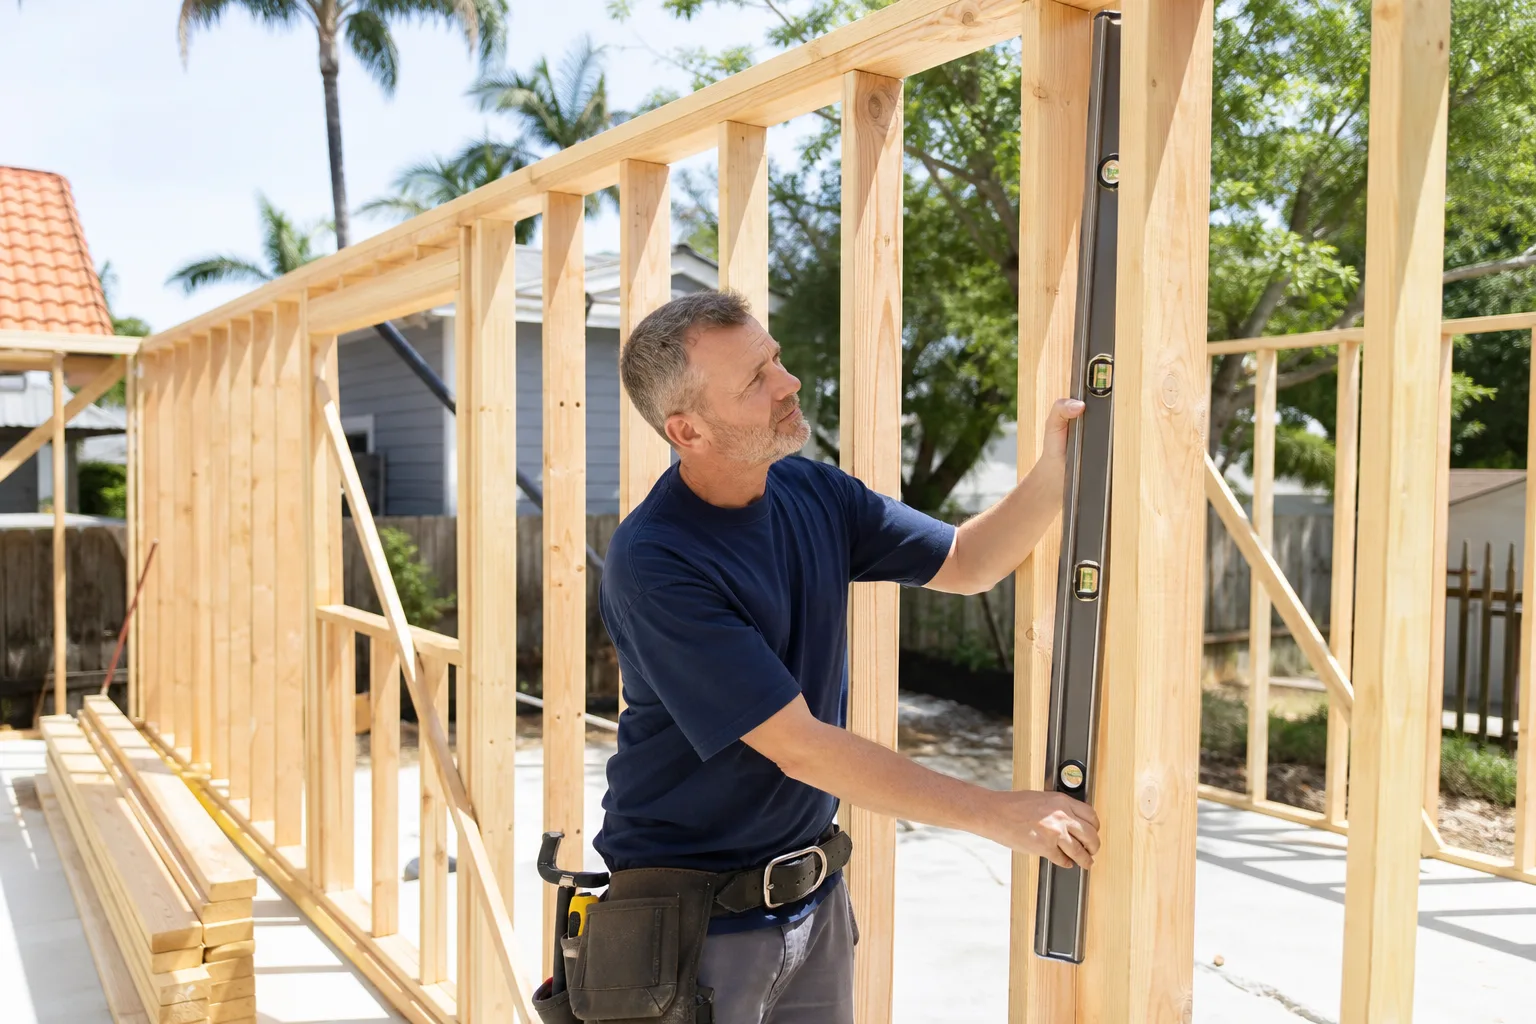
Expect $45,000 – $130,000 for a Garage Conversion ADU in Pleasant Hill, with a typical attached-garage conversion landing in the middle of that band. A newer, well-framed garage with existing utilities nearby sits at the low end; an older detached structure needing a slab fix, full electrical upgrade, and longer utility runs pushes toward the top.
Five variables move the number most:
- Ceiling height and slab condition: low ceilings or a cracked, settled slab mean framing and floor build-ups that add cost.
- Utility distance: running water, sewer, and a new panel feed out to a detached garage costs more than tapping what’s next to the house.
- Bath and kitchenette scope: a simple three-quarter bath and a two-burner kitchenette stay modest; a full bath with a tub and a proper kitchen push up.
- Structural and seismic work: reinforcing an older garage wall or adding a shear connection to the house is real work, not an upsell.
- Permit and design scope: City of Pleasant Hill plan review and any geotechnical or drainage review on a hillside lot add time and cost.
Your written estimate will list demo, framing, rough-ins, insulation, drywall, finishes, and inspection coordination as separate line items. It won’t include furniture, appliances you buy separately, or landscape work outside the unit. The number you see is the number you pay, no change orders hiding in the margin. This is often part of a full Home Additions & ADU in Pleasant Hill scope if the conversion grows beyond the garage footprint.
See the difference
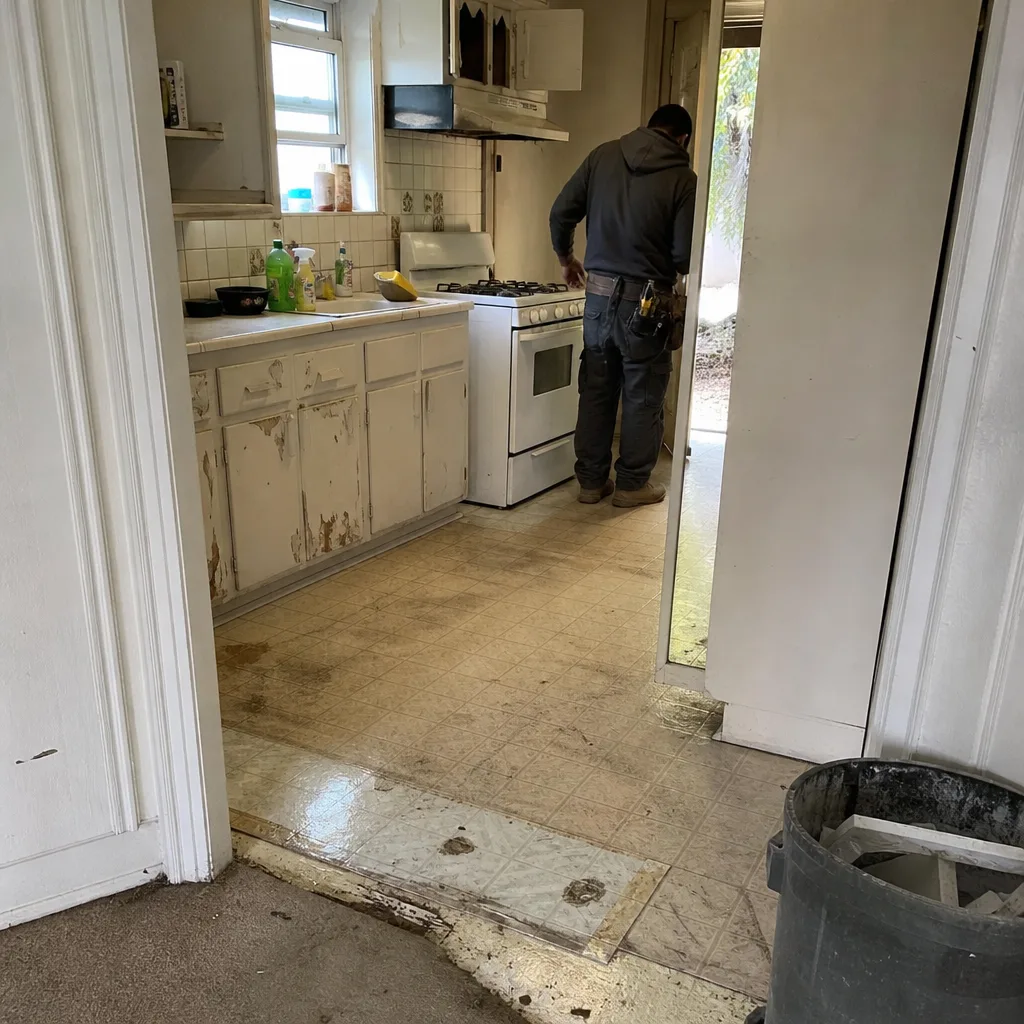 Before
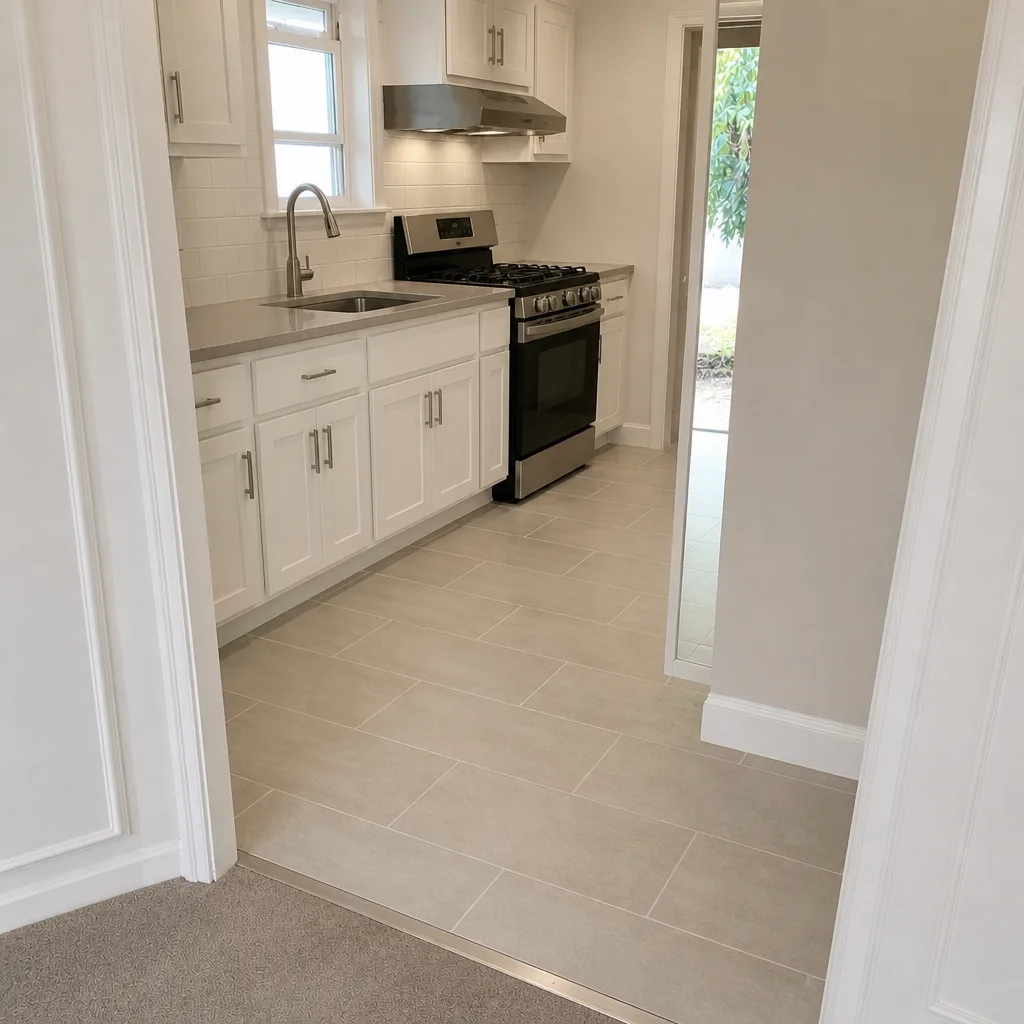 After
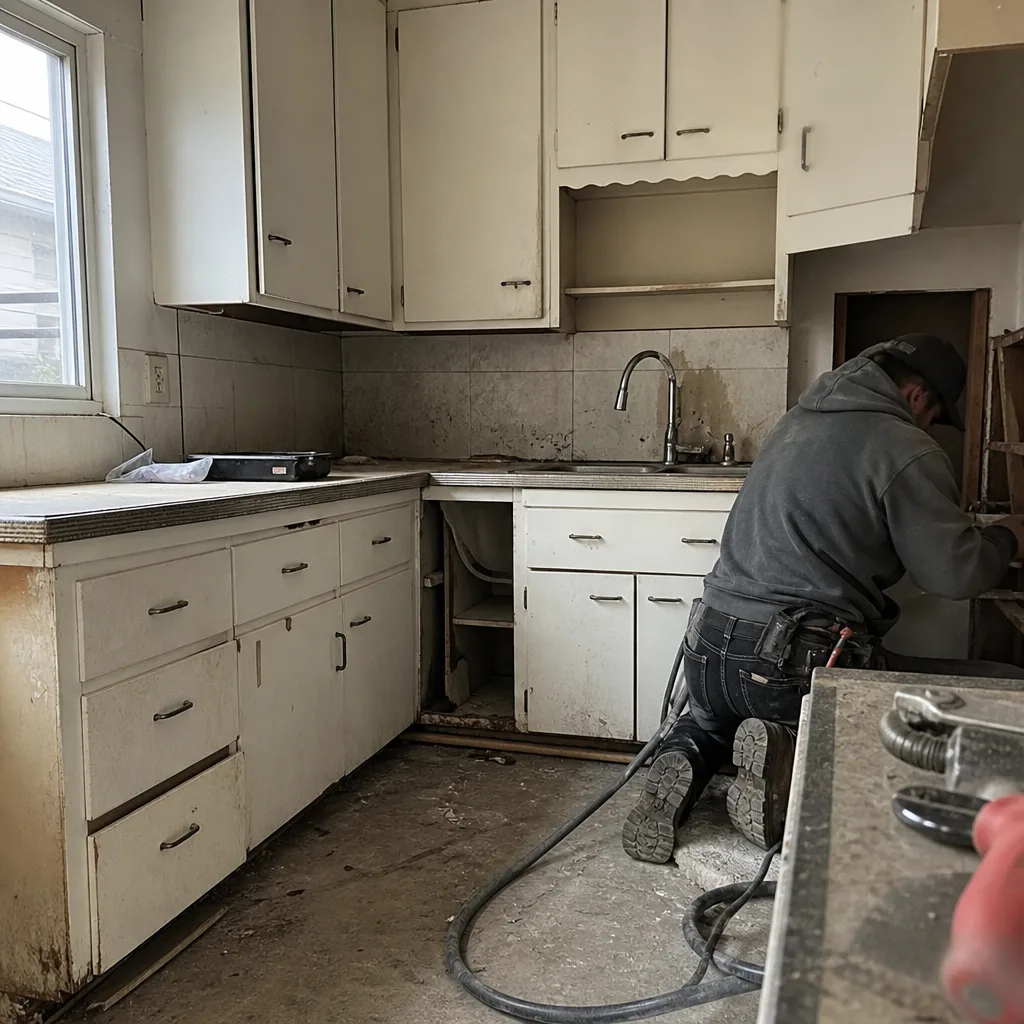 Before
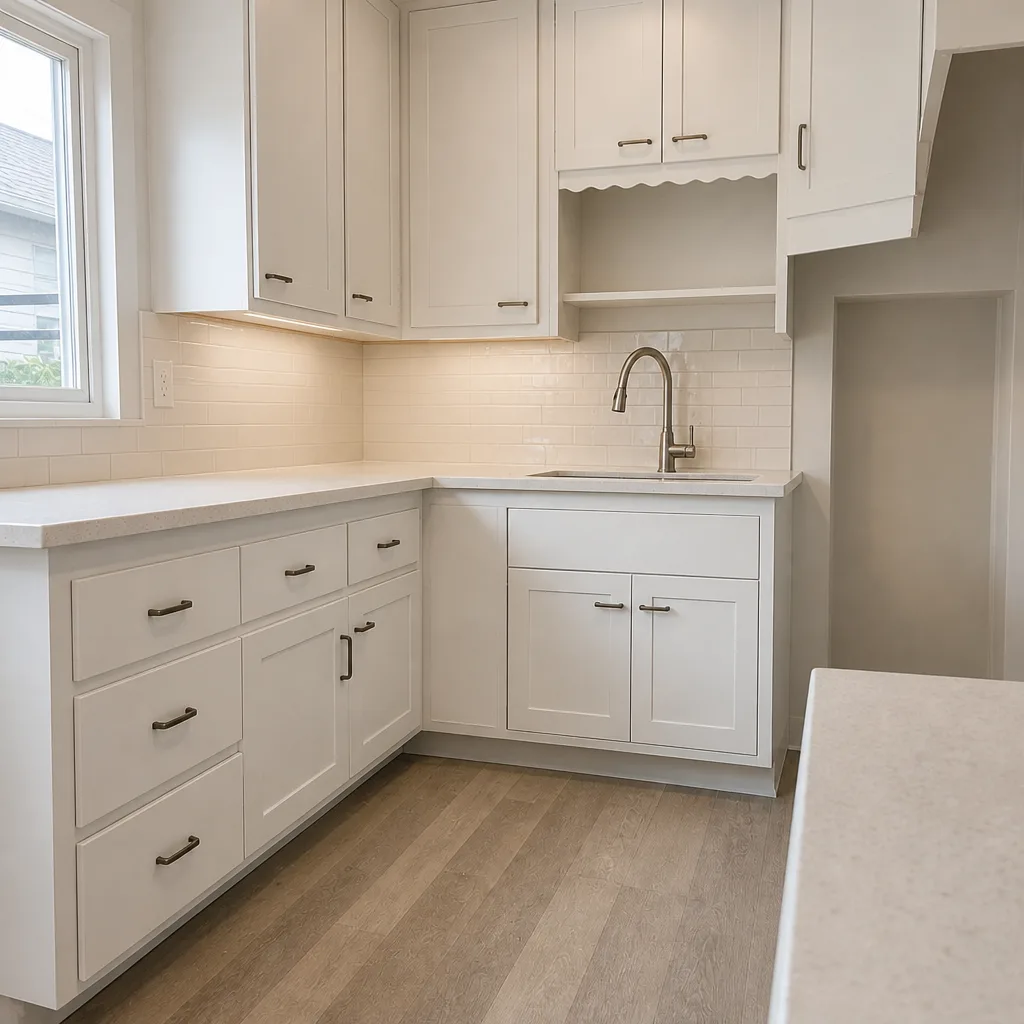 After
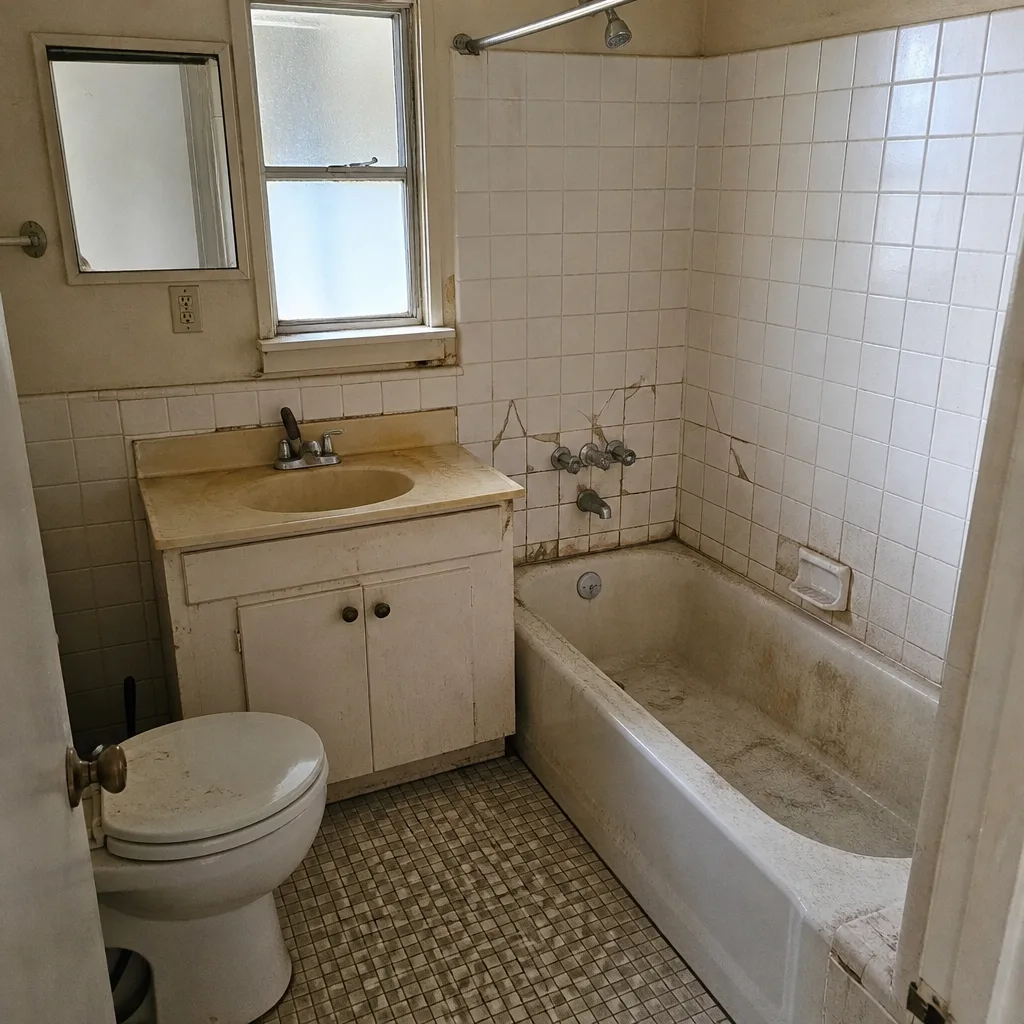 Before
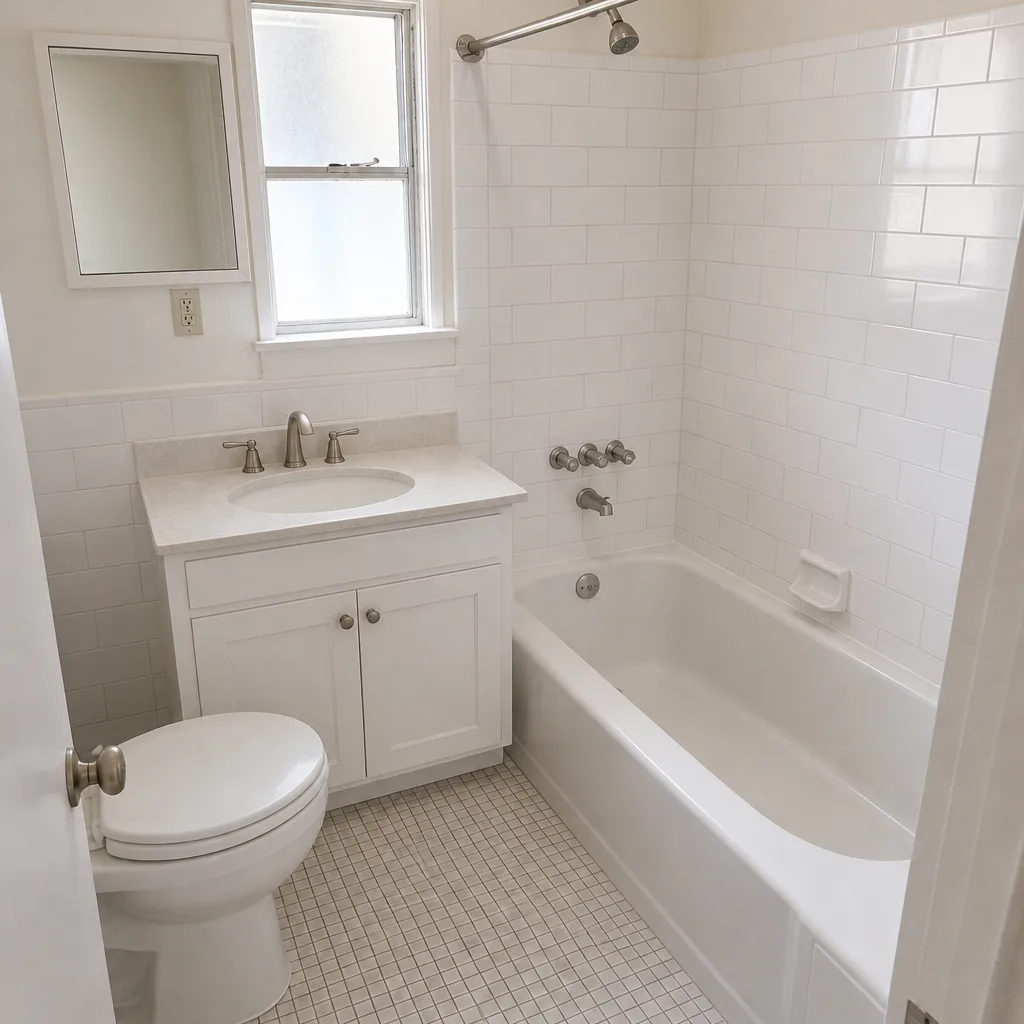 After
What Pleasant Hill Homes Specifically Do to This Job
Pleasant Hill is a built-out, almost entirely post-WWII Contra Costa suburb. Nearly every job here is remodel, addition, and rebuild rather than new ground, and the City’s tight hillside and creek-side review overlays mean even a modest conversion can pull in geotechnical, drainage, and design-review steps you wouldn’t hit in flatter neighboring towns. That’s the practical reality for a garage conversion on 94523’s hillside streets.
Most of the housing stock here is 1950s – 1970s single-story ranchers and split-levels on generous lots, plus 1960s – 80s condo and townhome clusters near downtown and the freeway. The older homes near the downtown and along the Gregory Gardens and Poet’s Corner-style tracts routinely surprise the DIY crowd mid-project: original aluminum wiring, galvanized plumbing, and shallow slabs that require permit-triggered upgrades before the City will sign off. If you’re converting a garage in one of those homes, budget for the electrical panel upgrade from the start. For that and the related work around the property, homeowners often pair the project with Asphalt Driveways & Resurfacing in Pleasant Hill once the old garage door approach is cleared.
Serving Pleasant Hill, CA – Our Local Coverage Area
We serve Pleasant Hill and nearby communities. Use the map below to see the area we cover. If you’re nearby, we can almost certainly help.
Frequently Asked – Garage Conversion ADU in Pleasant Hill
Most projects take four to six months including permit review and inspections, with construction itself running about three to four months. Plan review in Pleasant Hill is the variable piece, and hillside or creek-side overlays can add weeks. Call (855) 471-4163 for a realistic timeline on your specific garage.
Yes. A habitable unit requires a building permit plus electrical, plumbing, and mechanical permits, and the City inspects at rough-in and final stages. Skipping the permit puts the unit’s legal status and your insurance at risk. We pull and manage the permits and coordinate every inspection.
Sometimes. If a bathroom and its drain stack sit close to the garage, the plumbing run can be short, which saves real money. Structural reinforcement is usually still required on older garages to meet current seismic standards. We’ll tell you honestly which side of that line your project is on.
The typical range is $45,000 – $130,000, with most projects landing in the middle. Detached conversions with long utility runs and older wiring sit at the top; newer attached garages at the low end. Call (855) 471-4163 for an exact quote – estimates are free.
Every Garage Conversion ADU we build is covered by the 730-Day Done Right Promise: if something isn’t right within that window, we make it right. That covers workmanship, not tenant-caused wear. Calls are answered by a live person 24/7, so a warranty concern never goes to voicemail.
Get a Free Estimate for Your Garage Conversion ADU in Pleasant Hill
Call (855) 471-4163 to schedule a free on-site estimate for your Garage Conversion ADU in Pleasant Hill. A live person picks up, day or night. We’ll walk the property, measure the garage, flag the utility and structural realities, and give you a written line-item number that won’t move. Eligible projects over $10,000 get $1,000 off, with 0% financing for 18 months. We’re part of our Home Additions & ADU service and we cover all of Pleasant Hill. Driveway work around the project pairs naturally with Concrete Driveways & Concrete Work in Pleasant Hill.
Written by the team at Groundwork Construction Co.