Last updated November 18, 2026




Free written scope consultation - allowances, timeline, and change-order rules on paper before a single trade is scheduled
Fence Installation Troubleshooting: Common Problems and How to Fix Them
A gate that won’t latch is annoying. But a gate that stopped latching after years of working fine is telling you the post it hinges on has moved, and that movement won’t stop at the gate. Most fence problems that homeowners in Berkeley keep patching year after year share this pattern: the visible symptom gets treated while the underlying cause keeps working. A leaning post is a footing problem or a rot problem, and those need completely different fixes. A sagging gate has four possible mechanical causes. A warped board can signal installation error, material failure, or moisture exposure, and each one calls for a different response. This guide traces each common fence failure back to its source, so your next repair is the last one for that section.
Quick Answer
Fence problems come down to three root causes: a failed post footing, wood that’s absorbing moisture unevenly, or hardware and framing that has worked loose. Diagnosing which one you’re looking at takes minutes, and the fix changes entirely depending on the answer. Treating the symptom without finding the cause is why the same fence issues return every spring in Berkeley.
Styles & brands we work with
- Kitchen remodeling
- Bathroom remodeling
- Home additions & ADU
- Roofing
- Windows & doors
- Driveway & pavers
- Fence
Table of Contents
- The Post-Plumb Test: Failed Footing vs. Rotted Base
- Why Posts Lean and What It Tells You About the Original Install
- Cupping, Bowing, Twisting: What Board Warp Reveals
- Diagnosing a Sagging Gate in Under 10 Minutes
- What Fence Section Failures Reveal About Original Installation
- Repair vs. Replace: The Threshold for Wood Fence Sections
- How Berkeley’s Climate and Soil Shape Fence Failures
The Post-Plumb Test: Failed Footing vs. Rotted Base
Two leaning posts can look identical above ground and have nothing in common below it. One has a footing that broke or a soil pocket that gave way. The other has a post base that’s been quietly rotting for three years. The fix for the first is resetting the post and re-pouring the footing. The fix for the second is replacing the post and treating the soil before the new one goes in. Patch them with the same diagnosis, and you’ll be back at the same fence in eighteen months.
Here’s how we tell them apart on a site visit. It takes about five minutes per post with a level and a screwdriver.
- Check plumb at the top and the bottom. Hold a 4-foot level against the post face. If the entire post tilts as one unit, the footing has moved. If the post is plumb at the base and tilts only near the top, the wood has bent or the ground has settled around it.
- Probe the base with a screwdriver. Push a flathead into the wood at ground level and 6 inches above. A rotted post base accepts the tip with almost no pressure and crumbles. Firm resistance means the wood is sound.
- Rock the post. A post with a failed footing moves as a rigid lever when you push the top 6 inches. A post with a rotted base flexes at ground level, with the top staying relatively still because the footing still holds the bottom stub.
- Look for a soil crack ring. A visible gap where soil pulled away from the post on one side means the ground has settled or the post has tilted. A tight, level soil line with soft wood above it points to rot.
In Berkeley, both failures are common. Heavy winter rain pushes clay soils around, and old redwood posts installed without adequate footing depth can rot from the base up after a decade in a wet winter cycle. Failed footings and rotted bases both end up leaning, so the surface symptom isn’t a diagnosis. The screwdriver test is.
Why Posts Lean and What It Tells You About the Original Install
A leaning post is the most misdiagnosed fence problem we see in Berkeley. Homeowners either ignore it until the gate or neighbors complain, or they over-correct with a brace that treats a symptom. The lean itself carries diagnostic information about how the fence was originally built.
Three failure patterns account for nearly every leaning post:
- Shallow footing failure. Posts set less than 24 inches deep in clay soil tilt after a wet winter. The soil expands, the footing lifts slightly, and gravity takes it from there. This is the most common cause in older Berkeley neighborhoods where fences were installed decades ago with minimal concrete.
- Concrete footing break. The concrete collar around the post cracks and allows the post to shift. You’ll often see a hairline crack at the soil surface or a visible gap between post and concrete.
- Post rot at the base. The wood softens where it meets soil, and the top of the post begins to pivot. This looks like a lean but is really a structural failure of the post itself.
The depth and quality of the original footing shows in how the post failed. A post that leans after twenty years of low wind exposure in a Berkeley backyard was almost certainly set too shallow or without enough concrete mass. A post that leans after a single storm was likely rotted at the base and simply reached the end of its structural life. Different failure, completely different repair cost.
If you’re going to reset a single post, don’t just straighten it. Pull it, inspect the base for rot, widen the footing to at least 10 inches in diameter, and set it at least 30 inches deep in Berkeley’s clay soil. Running a good post next to a failed footing just moves the problem to the next section. If you’re facing several failed posts, this is one of the situations where a full section replacement makes more sense than piecemeal repairs. Our Fence Installation in Berkeley team walks this through on-site so you know exactly what you’re looking at before any work starts.
Cupping, Bowing, Twisting: What Board Warp Reveals
Wood doesn’t warp randomly. Every warp pattern points to either an installation error, a material failure, or a moisture problem, and the three need different responses. Learning to read the warp pattern is the fastest way to know whether your fence has a design problem or just a bad board.
Cupping
The board’s cross-section curves like a shallow bowl, with edges higher or lower than the center. Cupping almost always comes from moisture exposure to one face of the board. The damp side swells, the dry side doesn’t, and the board curls away from the moisture. On a fence, the sun-facing side dries first while the shaded side stays damp, so cupping shows up on the north and east faces of a Berkeley fence after a wet winter followed by a dry spring. Fix: seal both faces, or replace the boards with material that’s been properly sealed on all sides at installation. Cupping alone is cosmetic until it opens gaps between boards that let debris and water in.
Bowing
The board curves along its length, edges parallel, like a bow. Bowing tells you the board was milled from a piece of wood with grain running in one direction and then installed tight against rails without room to move. It’s a material and installation problem combined. A bowed board fights the rail it’s nailed to and eventually pulls fasteners. Fix: replace the bowed board, and check the rails for movement behind it. If rails themselves are bowing, the whole section is under stress and no amount of board-replacement will fix that.
Twisting
The board rotates along its length, so the top edge doesn’t line up with the bottom edge. Twisting is the clearest sign of installation error: the board was installed with tension in it, either because it was forced into the gap or because the fasteners weren’t set square. Twist also accelerates as the board dries, because any internal tension gets released unevenly. Fix: pull the board, inspect the fasteners, and reinstall without forcing the gap. If the rail behind the board is twisted, the entire section is compromised.
Among the newer wood-alternative systems we install, materials like composite and steel-reinforced systems from Barrette and Master Halco largely eliminate the moisture-driven warp pattern. They don’t install the same way as wood, and the installation method is exactly where most failures get introduced. When we install a wood-alternative section in Berkeley, it goes in with fasteners at the manufacturer’s specified spacing and rails checked plumb before any boards go up. That’s the difference between a section that lasts twenty years and one that starts cupping in three.
Diagnosing a Sagging Gate in Under 10 Minutes
A gate that suddenly sags has one of four mechanical causes. You can tell which one in about ten minutes with nothing but your hands and eyes, and getting the diagnosis right saves you from replacing a gate that only needed new hinges (or from tightening hinges on a gate whose real problem is a shifted post).
- Check hinge fatigue first. Open the gate 45 degrees and let go. If it swings back on its own toward closed, the hinges are binding or the screws have backed out. Look for loose hinge screws with a screwdriver; a loose top hinge is the single most common cause of a gate that droops at the swing end.
- Check post lean. Hold a level against the hinge post and the latch post. If the hinge post leans out at the top by more than about 1/4 inch over the gate’s height, the post movement is your cause. The gate hangs from a moving anchor.
- Check the diagonal brace. Every properly built wood gate has a diagonal member running from the bottom-hinge corner to the top-latch corner. If the brace is missing, split, or attached with only two fasteners at each end, it’s not doing its job, and the gate frame has nothing resisting gravity.
- Check for frame racking. Sight along the top rail of the gate and the bottom rail. If they’re no longer parallel (the gate is now a parallelogram instead of a rectangle), the frame has racked. Racking means the joints at the corners have failed, and the gate needs reconstruction, not adjustment.
In our experience across Berkeley, hinge fatigue and post lean account for most gate problems, and they often appear together. A gate on a post that’s started to move will over-stress the hinges as the gate has to fight gravity to swing. Fix the post first, then address hinges. If you fix the hinges on a moving post, you’ll do it again in six months.
Gate frames are also one of the few places where Berkeley’s climate stress shows most clearly. The wet-dry cycle between October and April wracks wood gates more severely than in drier climates, and a gate installed with only two fasteners per brace will fail within a few seasons. Steel gates from Ameristar or Jerith avoid the racking problem entirely, and the frame failure modes are almost always hardware-based. Different material, different diagnosis, different fix.
What Fence Section Failures Reveal About Original Installation
The pattern of a failed fence section tells you a lot about how it was originally installed. Two sections in the same fence line can fail in opposite ways, and each failure has a different story behind it. Reading that story before you repair anything keeps you from covering up the same problem twice.
Gap opening at the bottom
If the bottom of a section pulls away from the ground, revealing daylight and soil, the posts are lifting or settling deeper while the rails stay put. In Berkeley’s clay soil, this almost always means posts weren’t set deep enough to resist frost heave and soil expansion during a heavy wet season. The clay swells and lifts the post a fraction of an inch each winter, and after ten or fifteen years you can see a 2-3 inch gap at the bottom of the boards. Filling the gap with soil or a skirt board hides the issue. The posts need inspection and possibly re-setting.
Gap opening at the top
If the top of a section pulls away from the rails while the bottom stays tight, the section is racking from lateral soil pressure. In Berkeley, that almost always means a hillside yard or a property line near a slope where the soil pushes against the fence during wet months. Racking accelerates: once the rail connections loosen, the section loses rigidity and the top moves more with each storm. Fixing this requires reinforcement on the load side of the fence, not just re-nailing the rail.
Uneven rail-to-board alignment
If the rail is clearly visible between some boards but hidden behind others, the rails were installed unevenly or the posts are out of plumb. This is an installation-quality signal. On a well-built fence, the rails run consistently at one-third and two-thirds of the board height. When they wander, the original installation was sloppy, and it’s the reason the section has been unstable from day one. It’s also a signal that the rest of the fence may have similar issues.
Once you know what the failure pattern is telling you, the repair path is clearer. A gap at the bottom in a section with one weak post is a one-post fix. A gap at the top in a racked section on a Berkeley hillside property is a structural problem with the fence’s design against soil pressure. We see this pattern frequently on properties near Tilden Park and in the Berkeley Hills, and the fix usually involves either deeper posts on the load side or switching to a fence system designed to resist lateral pressure.
Repair vs. Replace: The Threshold for Wood Fence Sections
Patching a rotted board sometimes buys you two (or three) more years. Sometimes it just covers a structural problem behind the rail. The line between those two outcomes is clearer than most homeowners think, and it comes down to whether the damage is confined to a single board or has spread to the rail system and the posts.
Here’s the threshold we use:
- Repair a single board when the rail behind it is solid, the adjacent boards are firm, and the fasteners pull out cleanly. One bad board in an otherwise healthy section is a fifteen-minute fix.
- Repair a small cluster when three or four adjacent boards are affected but the rail behind them is still firm and the posts aren’t leaning. Use it as an early-warning system: whatever caused those four boards to fail (moisture, roof runoff, sprinkler spray) will affect the next section too.
- Replace the section when the rail behind the affected boards is rotted, cracked, or loose from the post. A rail failure is a structural failure, and no amount of new boards on top of a failed rail holds long.
- Replace a wider span when two or more adjacent posts are leaning, rocking, or showing rot at the base. The rail and board failures downstream are symptoms of the post problem, and you’ll spend more trying to patch them than replacing the span.
The wood section repair vs. replace decision isn’t really about the boards. It’s about the rails and posts. In Berkeley, we see plenty of fences where a homeowner has replaced the bottom six boards three times over ten years, when the third time they could have replaced the whole section and stopped the cycle. Rails are the cheap part to replace when they’re still accessible; they get much more expensive once the boards on top have locked everything in and the posts have started to move. If you’re sorting this out on your own property and want a second opinion, our Driveway & Pavers in Berkeley crew often sees fence-post failures at the driveway line where they meet their work, and the same diagnostic eye applies.
How Berkeley’s Climate and Soil Shape Fence Failures
Not every region produces the same fence failures, and Berkeley’s specific conditions make some problems far more common here than in other parts of the Bay Area. Understanding why changes how you diagnose and how you plan the replacement.
First, the soil. Berkeley’s clay-heavy soils expand and contract dramatically between the wet season and the dry season. In the Berkeley Hills and neighborhoods like North Berkeley, a fence post set in soil that swells with winter rain and shrinks in summer will move a small amount each year. Over a decade, “a small amount” becomes a visible lean. In flatter areas like West Berkeley and the neighborhoods near San Pablo Avenue, the soil tends to stay wet longer, which drives post rot rather than post lift. Same county, two different failure patterns depending on which side of the hills you’re on.
Second, the moisture cycle. Berkeley gets most of its rainfall between November and April, and the fence boards on the shaded side of a fence stay wet long after the sun-facing side is dry. That asymmetry drives the cupping pattern we talked about earlier, and it’s why a north-facing fence in Berkeley tends to fail a few years before a south-facing one.
Third, the exposure. Fences close to saltwater air, or in the wind corridors near the Berkeley Marina, see accelerated corrosion on metal hardware and expansion of wood fibers that stresses fasteners. Powder-coated steel and aluminum systems from Ameristar and Jerith hold up much better than galvanized hardware in these areas, and the investment pays off over the fence’s life. In inland Berkeley neighborhoods, wood remains a good choice as long as posts are set deep and hardware is properly sealed.
When we install a fence in Berkeley, the post depth and footing spec are calibrated to the specific yard, not a blanket standard. A hillside yard near Tilden Park needs different post depth than a flat lot in the flatlands, and getting that right at install is the cheapest way to avoid the leaning-post problem for the next twenty years. That’s part of why the Groundwork Construction Co. of Berkeley home team gets called back to the same neighborhoods for repeat projects, and it’s the standard our Fence Installation in Berkeley work is held to.
Common Mistakes to Avoid
- Straightening a leaning post without checking the base. If the post is rotted at ground level, pushing it back plumb only buys a season. Pull it, inspect the base, and replace if the wood is soft.
- Adding braces to a sagging gate before finding the cause. A brace on a moving post just transfers the load elsewhere. Diagnose the hinge, post, brace, and frame in that order.
- Replacing boards without checking the rails behind them. New boards over a failed rail fail within two seasons. The rail is the structural member, and it’s cheap to replace while the section is open.
- Using the same wood treatment on all four sides of a Berkeley fence. Different exposures need different sealing schedules. Treating a north-facing board on the same schedule as a south-facing one leaves the north face too wet for too long.
- Ignoring the bottom gap after a wet winter. A 2-inch gap at the bottom of a section in clay soil is an early sign the posts are lifting or the ground is settling. Addressing it in year one avoids a full section rebuild in year five.
- Setting new posts to the same shallow depth as the originals. If the old post was set 18 inches deep and it failed, a new post at the same depth will fail on the same timeline. Fix the footing spec when you reset the post.
- Skipping permits on replacement sections. Berkeley has fence height and setback rules, and replacing a section is often the moment to catch a pre-existing violation. Our team pulls permits and passes inspections as standard on Home Additions & ADU in Berkeley work, and the same rigor applies to fences on the property line.
See the difference
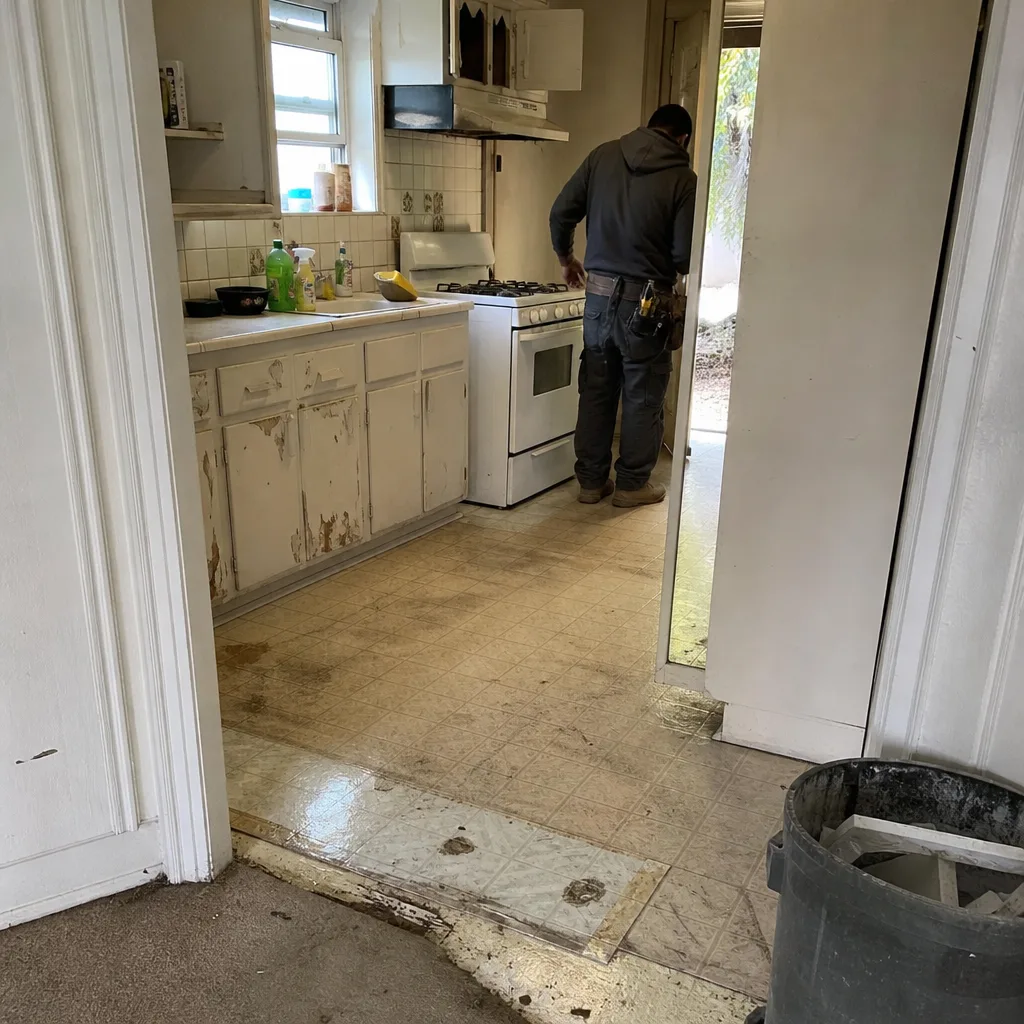 Before
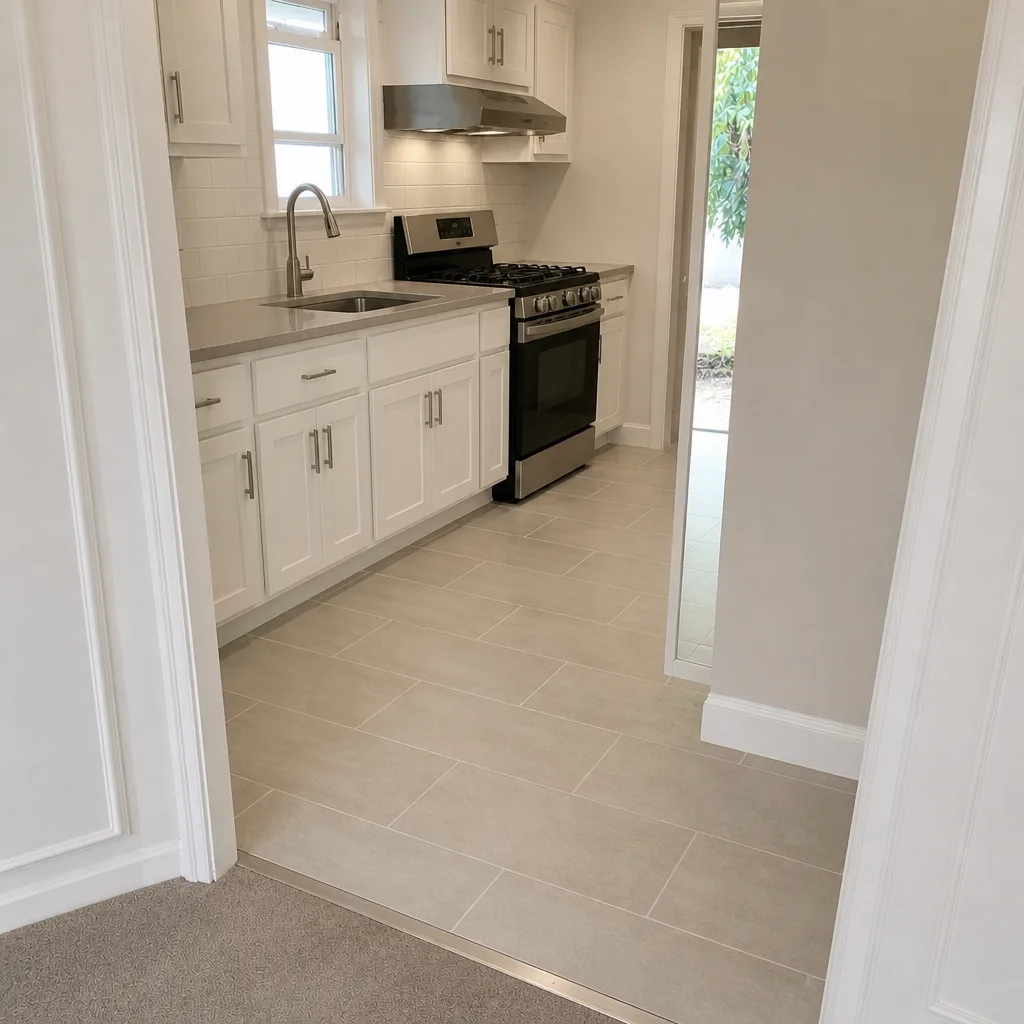 After
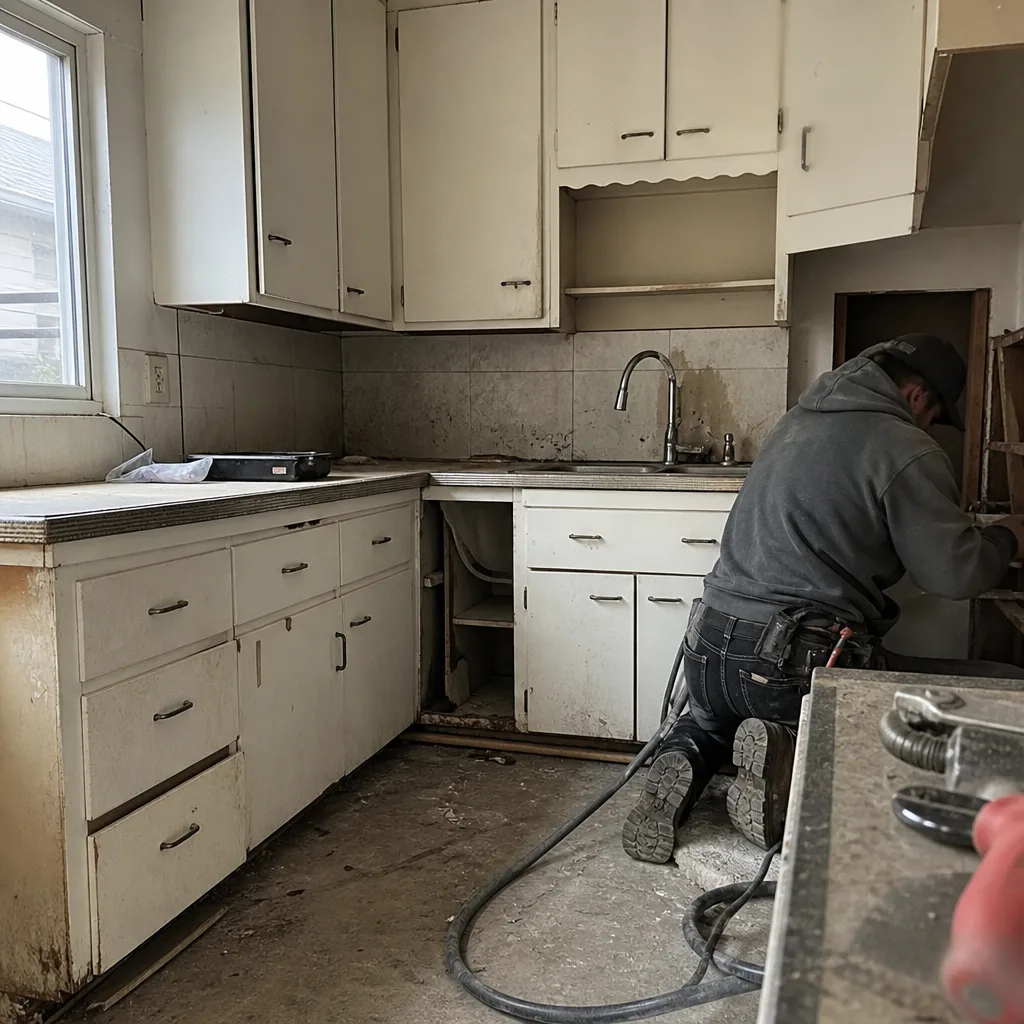 Before
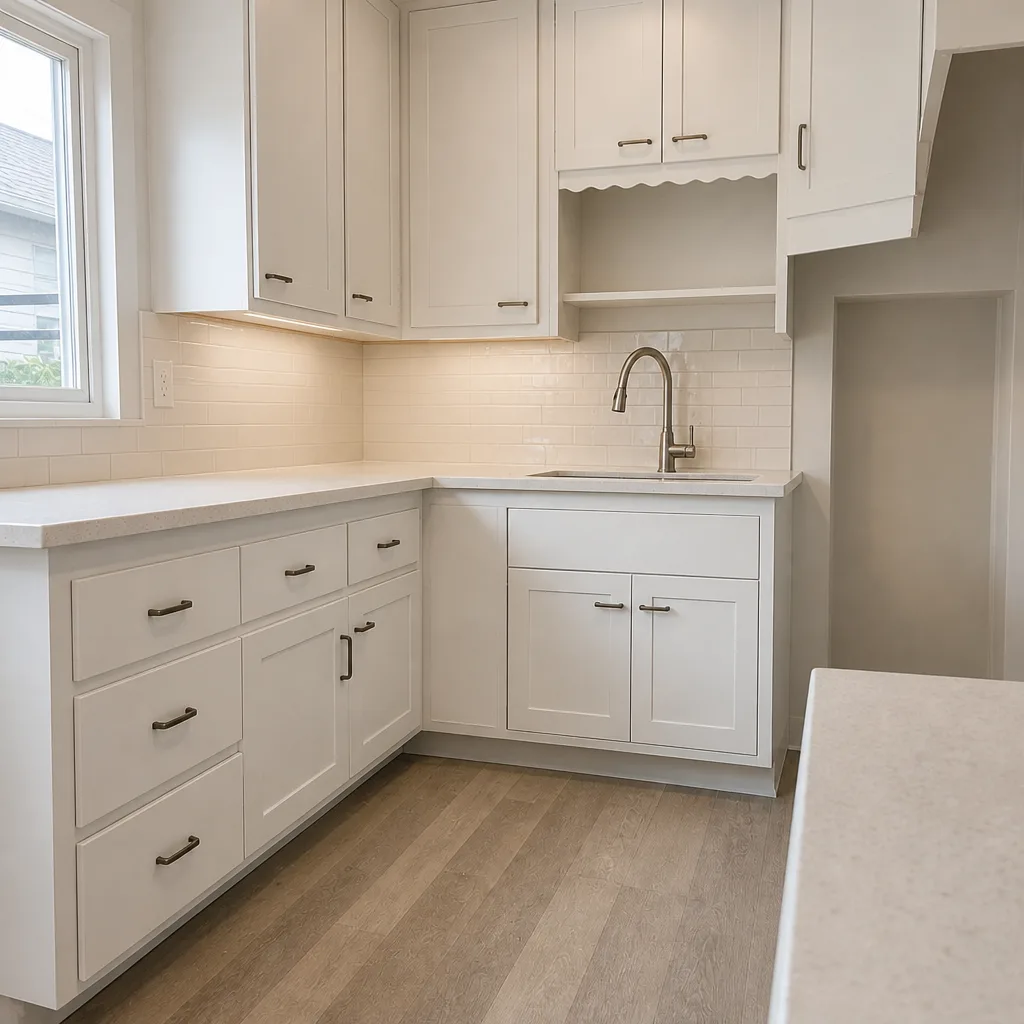 After
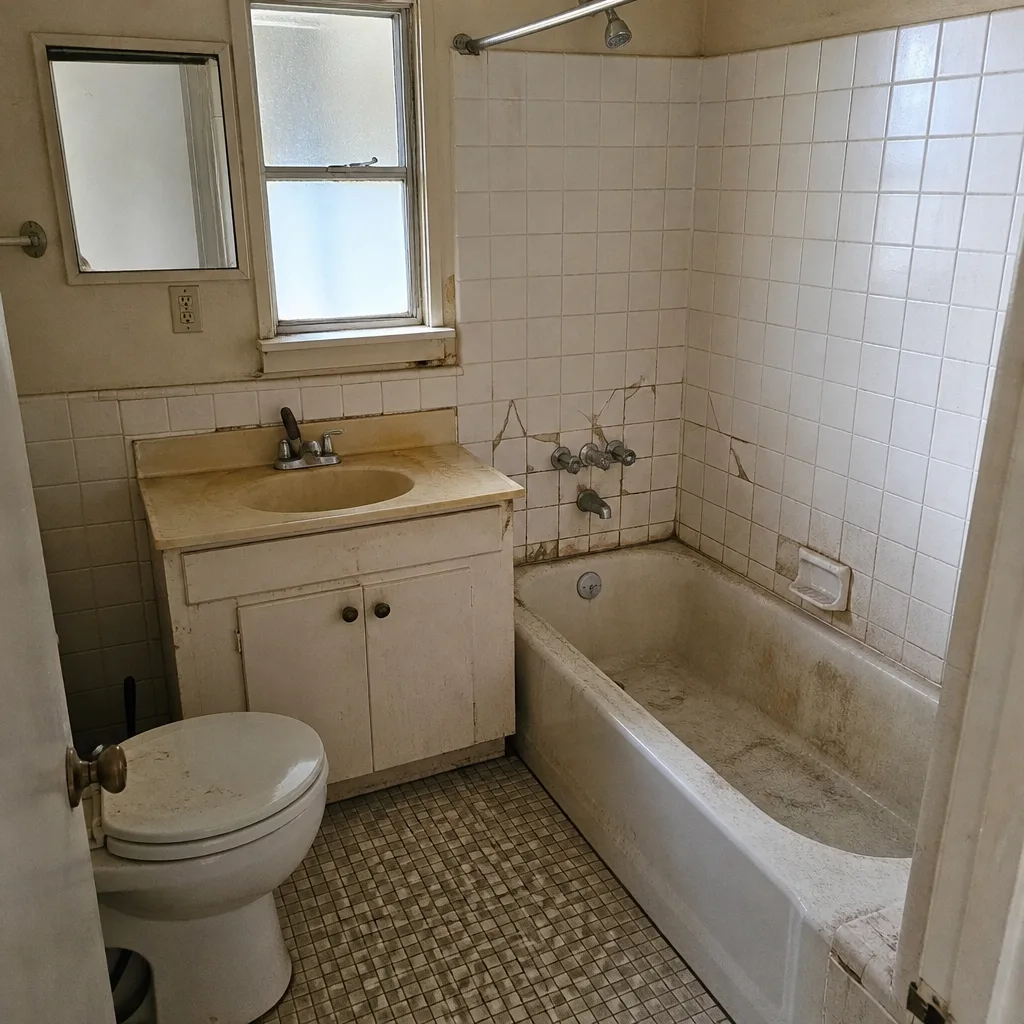 Before
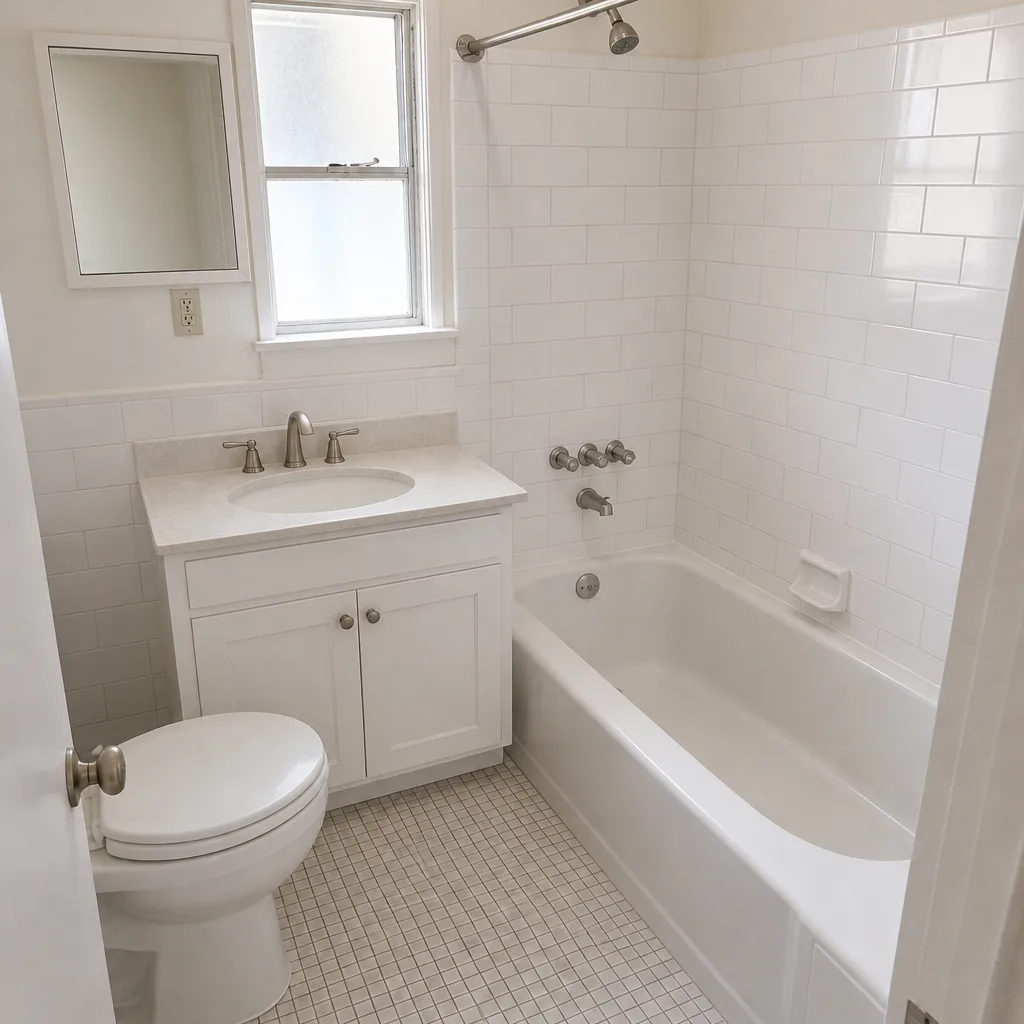 After
When to Call a Professional
Some fence problems are backyard-ready weekend jobs. Some aren’t. Call us when a post has failed at the base or the footing, when a gate frame has visibly racked, when more than one section is leaning, or when you can’t tell whether the problem is the wood or the footing. Posts require digging, concrete, and depth calculations calibrated to your specific soil, and the wrong depth is the number one cause of repeat failures. If your fence is on a property line, near a slope, or under Berkeley’s height and setback rules, a professional install keeps you out of code trouble. Groundwork Construction Co. of Berkeley offers free estimates in Berkeley, and we answer the phone with a live person, 24/7. Call (855) 471-4163 to schedule yours.
Frequently Asked Questions
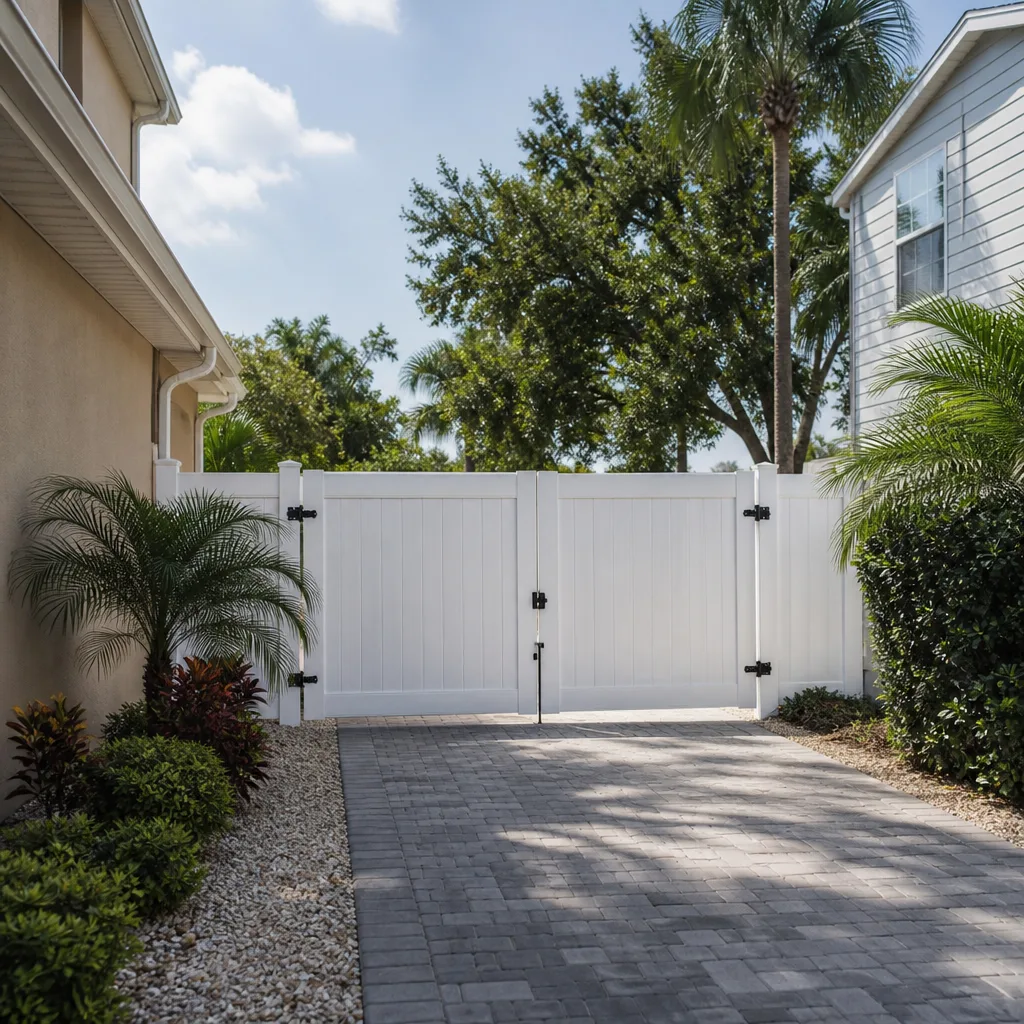
Push a screwdriver into the wood at ground level and 6 inches up. If the tip sinks in with almost no pressure, the post is rotted and needs replacement. If the wood is firm but the whole post rocks as one solid unit when you push the top, the footing has failed and needs re-setting. The two failure modes look identical above ground but require completely different repairs.
Because moisture exposure is different on the two faces of the board. The damp side swells, the dry side doesn’t, and the board curls away from the moisture. In Berkeley, that means north and east-facing fence boards cup faster than south and west-facing ones after a wet winter. Sealing both faces at installation slows this considerably.
Yes, if the cause is hinge fatigue or post lean and the gate frame is still square. A loose top hinge is a five-minute fix, and a leaning hinge post can often be reset without replacing the gate. If the gate frame itself has racked (the top and bottom rails are no longer parallel), the gate needs reconstruction.
In Berkeley’s clay soils, a gap at the bottom usually means the posts weren’t set deep enough and have lifted over successive wet seasons, or the ground has settled. A gap at the top of a section instead of the bottom points to racking from lateral soil pressure. Different gap location, different fix.
Repair single boards when the rail behind them is firm and the posts aren’t moving. Replace the section when the rail is rotted, cracked, or loose from the post, or when two or more nearby posts are leaning or showing rot. The rail and post are the structural members, and patching boards over a failed rail just repeats the cycle.
Repair is generally fine without one, but full replacement or a change in fence height requires checking against Berkeley’s height and setback rules. Property-line fences have specific limits, and a permit pulls the inspection that catches any pre-existing issue. Our team handles permits and inspections as standard on fence work in Berkeley, and we’ll tell you up front whether yours needs one.
The Bottom Line
Fence problems look the same on the surface and have completely different causes underneath, and that gap is why homeowners in Berkeley keep patching the same sections year after year. A leaning post is either a footing failure or a rotted base, and the screwdriver test tells you which in under two minutes. A warped board is either installation error, material failure, or moisture exposure, and the warp pattern diagnoses which one. A sagging gate has four mechanical causes, and you can identify all of them in ten minutes with your hands and eyes. Find the cause before you patch the symptom, and your next fix is the last one for that section. Groundwork Construction Co. of Berkeley backs every fence installation with the 730-Day Done Right Promise, and our technicians bring up to 12 years of experience to every job. Call (855) 471-4163 for a free estimate.
Written by the team at Groundwork Construction Co. of Berkeley.