Last updated November 18, 2026



Free written scope consultation - allowances, timeline, and change-order rules on paper before a single trade is scheduled
Home Additions & ADU Troubleshooting: Common Problems and How to Fix Them
The number one complaint we hear after a botched addition isn’t the final defect. It’s some version of “I saw something that looked off but didn’t know if I should say something.” The pour that seemed a little thin. The framing that felt bouncy underfoot. The window set that looked crooked from the street. You should have said something, and you should have known it was worth saying. Most of the expensive ADU and home addition problems that surface months later were visible weeks earlier as small inconsistencies nobody flagged. In Berkeley, where a hillside lot, a 1920s foundation, and a wet winter can compound a single bad decision, that gap between what you see and what you know is the difference between a $500 fix and a $50,000 rebuild. This guide teaches you to read a job site the way a contractor does.
Quick Answer
Most home addition and ADU problems break down into five categories: foundation and site-prep failures, framing defects hidden behind drywall, water intrusion from flashing and weather-barrier mistakes, plan mismatches that show up as scope disputes, and settling that emerges in the first 90 days of occupancy. The fix depends on catching each one at the phase where it was actually created, not the phase where it finally became visible. A cracked slab isn’t a finishing problem; it’s a pour problem diagnosed too late.
Styles & brands we work with
- Kitchen remodeling
- Bathroom remodeling
- Home additions & ADU
- Roofing
- Windows & doors
- Driveway & pavers
- Fence
Table of Contents
- Why Addition Problems Are Almost Always Root-Cause Problems
- Foundation and Site Prep: The Problems You Can’t Fix Later
- Five Framing Defects to Catch Before the Drywall Goes Up
- Water Intrusion Troubleshooting for California’s Wet Winters
- When Work Doesn’t Match the Plans: Handling the Dispute
- The First 90 Days: What’s Normal Settling and What Isn’t
- Permits, Inspections, and the Paper Trail That Protects You
- How to Pick a Contractor Who Prevents This List
Why Addition Problems Are Almost Always Root-Cause Problems
Every visible defect in a finished addition has a birthday. It was created on a specific day, by a specific phase of work, and it was either caught or it wasn’t. The homeowner sees it at the end because the end is when the drywall is painted, the trim is on, and the flaws have nowhere left to hide. The contractor who built it saw it weeks earlier and either fixed it or hoped nobody would notice.
This is why we teach clients to think in phases rather than in symptoms. When you understand which phase creates which class of problem, you stop asking “why is my floor squeaking?” and start asking “was that subfloor glued and screwed, or nailed?” Those are very different conversations, and only one of them gets you a real answer.
The five-phase map
Here’s how we break down where problems are actually born on a Berkeley addition or ADU:
- Site prep and excavation. Soil compaction, drainage grading, and utility locating happen here. Get this wrong and the foundation pays for it for the next fifty years.
- Foundation and pour. Rebar placement, form alignment, concrete cure, and anchor bolt setting. A crack that appears in year three usually started here.
- Framing and sheathing. Stud spacing, headers, hangers, shear nailing, and the weather barrier. This is the phase where the most defects get covered up fastest.
- Rough-in and enclosure. Plumbing, electrical, HVAC, insulation, and the roof and window flashing that keep water where it belongs.
- Finish and closeout. Drywall, trim, paint, and fixtures. This is where defects are seen, not where they’re made.
In Berkeley, phases one and four do the most damage. Hillside lots and clay-heavy soils in the flats make site prep unforgiving, and the wet winters punish any flashing detail that was rushed. We’ve walked additions in the Berkeley Hills where a single missing kickout flashing turned into rotted sheathing two winters later. The flashing was a $40 fix during rough-in. The repair was a five-figure wall rebuild.
Foundation and Site Prep: The Problems You Can’t Fix Later
Foundation problems are the most expensive category in this guide, and they’re the least fixable once the concrete sets. That’s why the site-prep phase matters more than any other. Before a single form goes in, three things need to be right: the soil has to be properly compacted, the grading has to move water away from the structure, and the utilities have to be located and cleared.
What to look for during excavation
You don’t need to know compaction testing standards to spot problems. You need to know what “off” looks like:
- Soft spots or fill dirt. If the excavation crew hits loose, previously disturbed soil and pours right over it, the slab will settle unevenly. Ask whether the soil was tested or over-excavated and replaced.
- Water pooling in the excavation. A foundation poured into standing water or mud loses strength. In Berkeley’s wet-season construction, this happens more than it should.
- Missing or thin gravel base. Under a slab, a compacted gravel layer is what keeps moisture from wicking up. Skip it and you get damp floors and eventual cracking.
- Grading that slopes toward the new structure. Water should always move away. If the finished grade tilts back toward the addition, you’ve built a bathtub.
Why a cracked foundation is a site-prep diagnosis
When a homeowner calls us about a hairline crack in a new addition slab, the conversation is almost never about the crack. It’s about the pour. Common root causes include too much water added to the mix on a hot day, concrete poured too thin, rebar placed too close to the surface, or a slab poured over uncompacted fill. Each of those decisions happened during site prep or pour, in a single afternoon, months before the crack appeared. This is the core lesson of the whole guide: the defect has a date, and the date is earlier than you think.
If you’re planning an addition on an older Berkeley property, this is exactly why a site walk before design matters. Our Home Additions & ADU in Berkeley team treats the pre-construction site inspection as the most important visit on the calendar.
Five Framing Defects to Catch Before the Drywall Goes Up
Framing is the phase homeowners are most likely to accidentally see, because the walls are still open. This is your window. Once the drywall goes up, every defect in this section gets buried for decades. Here’s what to look for and the plain-language question to ask about each one.
1. Bouncy or uneven floors
A floor that deflects noticeably underfoot usually means undersized joists, too-wide spacing, or missing blocking. The question to ask: “Are these joists at 16 inches on center, and was the subfloor glued and screwed or just nailed?” Glue and screws cost a little more and eliminate most squeaks. Nails alone are the cheapest path, and you’ll hear about it every winter.
2. Missing or undersized headers
Every opening in a load-bearing wall needs a header sized to carry the load above it. A header that’s too small, or a “header” made of a few stacked 2x4s where the plans call for an engineered beam, is a structural problem. The question: “Can I see the header schedule on the plans, and does what’s installed match it?” Not sure what to look for? Ask to see the approved structural drawings on-site.
3. Simpson hangers and straps that aren’t fastened
Metal connectors only work if every nail hole is filled with the specified nail. A hanger with two nails instead of eight is a hanger that’s roughly a quarter as strong. The question: “Were the joist hangers nailed to spec, and can I see the inspection card?”
4. Missing shear nailing or hold-downs
In seismic Berkeley, shear panels and hold-downs are what keep a structure standing through a significant shake. Nailing patterns on shear walls are prescribed and inspected. If you see sheathing nailed with wide, sparse spacing where the plans show a dense pattern, that’s a defect worth escalating immediately.
5. Windows and doors out of square
Rough openings that are racked out of square make windows bind and leak. It’s a framing defect that shows up as a “window problem” later. The question: “Were the rough openings checked for square before the windows went in?” A $10 level and two minutes at framing catches this; a window replacement a year later costs far more.
Water Intrusion Troubleshooting for California’s Wet Winters
Water damage is the most common post-occupancy addition problem we troubleshoot in Berkeley, and it’s almost always a flashing or weather-barrier failure rather than anything exotic. The East Bay’s wet-season rain coming sideways, combined with older buildings that were never detailed for modern weather barriers, makes enclosure the critical discipline on any addition.
Where flashing fails
Flashing is the metal and membrane system that directs water away from joints in the building envelope. It fails at predictable places:
- Roof-to-wall intersections. A missing or improperly lapped step flashing lets water run down the wall behind the siding.
- Window and door heads. Water needs a capillary break and a sloped head flashing above every opening. Without it, water wicks back into the wall.
- Kickout flashing at roof eaves. This little angled piece keeps roof water from dumping into a wall. It’s frequently omitted, and it’s the single most common flashing failure we find.
- Deck and patio ledgers. A ledger flashed with caulk instead of metal and proper membrane will rot the rim joist within a few seasons.
Caulk is not a weather barrier
The most common enclosure shortcut is substituting caulk for proper detailing. A bead of caulk over a bad flashing detail looks fine for one season and fails the next. Real weather barriers sit behind the siding, lap in shingle fashion (upper over lower), and terminate correctly at every penetration. When you see caulk doing structural water-management work, ask why.
What an enclosure inspection should catch
- Weather barrier installed with correct laps and taped seams.
- Head, sill, and jamb flashing at every window and door.
- Kickout flashing at every roof-wall intersection.
- Roof underlayment and step flashing lapped correctly.
- All penetrations (vents, pipes, conduits) sealed with proper boots and membranes, not just caulk.
- Drainage plane continuous from roof to grade.
If any of these are missing during the framing and rough-in stage, you have a $50 fix on the table. After two wet winters, you’re looking at a wall rebuild. On a Berkeley project, that’s the single highest-value catch in this entire guide.
When Work Doesn’t Match the Plans: Handling the Dispute
Disputes happen. What determines the outcome is almost never who’s louder; it’s who has better documentation. The homeowner who has the approved plans, the change orders in writing, dated photos of each phase, and a written record of every conversation is the homeowner who wins. This is the section to read before you ever sign a contract.
Documentation practices that protect you
- Keep the stamped, approved plan set. This is the reference document. Everything is measured against it.
- Get every change order in writing, with the price. No verbal “we’ll figure it out later.” A change order should state what’s changing, the cost, and the schedule impact.
- Photograph everything, weekly. Before drywall, after drywall, every enclosure detail. Dated photos are worth more than any verbal memory.
- Put concerns in writing, same day. A short email is enough: “Today I noticed X at the [location]. Can you confirm this matches the plans?” That email is now a record.
- Note the inspection card status. If an inspection is signed off, you have third-party confirmation the work met code. If it’s missing, ask why.
The CSLB complaint process in California
If a dispute can’t be resolved with the contractor directly, California homeowners have a formal path. The Contractors State License Board (CSLB) accepts complaints against licensed contractors and can investigate, and for certain violations (like abandoning a job or a willful building-code violation) may refer the matter to the registrar’s arbitration or enforcement process. Before you file, be sure you have the documentation above in order. The CSLB wants specifics: contract, change orders, photos, and a clear statement of what was promised versus what was delivered. A written, itemized complaint moves faster than a vague one. If your contractor isn’t licensed, that’s a different and more serious situation, and the CSLB is still the right place to start.
Most disputes never need to get that far. A contractor who answers calls, puts pricing in writing, and stands behind workmanship resolves issues long before the paperwork stage. That’s the reason our 730-Day Done Right Promise exists in writing.
The First 90 Days: What’s Normal Settling and What Isn’t
A new addition moves. Materials expand, contract, and settle, especially through a Berkeley rainy season and the shift from wet to dry. The trick is separating normal settling from a problem that needs a warranty call. Here’s the checklist we walk clients through at the 90-day mark.
Normal settling (don’t panic)
- Hairline cracks in drywall at corners and above doorways. These are cosmetic and a sign the framing is settling, not failing.
- Doors that stick slightly in humid weather. Wood reacts to humidity. A door that swells in January and frees up in May is behaving normally.
- Minor nail pops in drywall. A handful of cosmetic bumps is common as the wood dries. Not a structural signal.
- Slight floor squeaks. Annoying but normal unless accompanied by significant deflection.
Expected HVAC behavior
New additions have their own HVAC zone, and it takes a cycle of seasons to balance. Expect some temperature difference between the new and old space in the first season, and expect a few thermostat adjustments. What’s not normal is a room that won’t condition at all, a vent that blows weak or not at all, or refrigerant leaks. Those are install or commissioning problems, not “getting used to it.”
Trigger a warranty call immediately if you see
- Water staining on ceilings, walls, or at window frames. Never wait on water.
- Cracks in the foundation that are wider than a hairline or that you can put a coin in.
- A floor that deflects visibly or feels spongy near a doorway.
- A window or door that has become noticeably harder to operate in a short period, which can indicate movement.
- Musty smells in a new space, which almost always mean a moisture issue behind a wall.
- Any HVAC room that can’t reach set temperature after a full day of operation.
Put every one of these in writing when you report it. A serious contractor documents the call, schedules an inspection, and documents the resolution. Our team treats warranty calls with the same response as new-project calls; live person, 24/7, no voicemail.
Permits, Inspections, and the Paper Trail That Protects You
An unpermitted addition is a problem you inherit, not one you create, and it can wreck a sale years later. Berkeley is a permit-conscious city; buyers, appraisers, and lenders check. The paper trail is your insurance policy.
- A valid building permit with the approved plans on file. This is the foundation of everything else.
- A record of every inspection with the signed-off card. Foundation, framing, rough-in, and final each leave a record.
- Consistent scope between the permit set and what’s actually built. If something was added or changed, a permit revision should exist.
- Final sign-off before you close out the contract. Final inspection is where the whole pile gets reconciled.
We pull permits and pass inspections on additions across Berkeley because an inspector’s signature is a third-party confirmation we want on every project. If a contractor suggests skipping the permit “to save time,” that’s your signal to walk.
How to Pick a Contractor Who Prevents This List
The best troubleshooting guide is the one you never need. Most of the items above get prevented by a contractor who plans in phases, inspects before covering up, and stands behind the outcome in writing. Here’s how to choose one:
- Ask for a written, line-item quote. “Upfront pricing, no surprises” means every line has a number before work begins.
- Ask who answers the phone. Live person, 24/7, is a real commitment. Voicemail black holes are where disputes grow.
- Read the workmanship guarantee carefully. Ours is the 730-Day Done Right Promise: if it’s not done right, we make it right. Two years, in writing.
- Check the crew on-site. Background-checked, uniformed technicians on every job is a trust signal, not a flourish.
- Ask about brand partners. Premium materials from names like Andersen and Schluter are only worth it if they’re installed to spec. Ask to see the spec sheets.
- Confirm permits and inspections are included. Not optional, not “extra.”
Groundwork Construction Co. of Berkeley works from foundation to finish line on additions and ADUs across Berkeley, and we bring the whole phase-by-phase discipline this guide describes. If any of this resonates with a project you’re planning, we’d like to see it. Learn more about the Groundwork Construction Co. of Berkeley home page for the full picture of what we do.
Common Mistakes to Avoid
- Not getting the change order signed before work proceeds. A verbal “we’ll figure it out” becomes a dispute waiting to happen. Insist on a written change order with a price before the first nail.
- Skipping a pre-slab moisture barrier in a Berkeley wet-season build. The winter moisture wicks up into the finished floor and it’s not fixable without tearing out the slab. Detail this during site prep.
- Accepting caulk where flashing should be. Caulk hides a defect for one rainy season and fails the next. On every addition we build in Berkeley, flashing is metal and membrane, not bead.
- Failing to photograph the framing and rough-in before drywall. Those photos are how you prove what’s behind the wall later. Weekly date-stamped photos are the cheapest insurance you’ll ever buy.
- Assuming a squeak or a sticking door is “normal settling” without a photo record. Without a record you can’t tell normal from abnormal, and you can’t make your warranty claim stick.
- Not verifying that the permit set matches the built addition. A mismatch shows up at resale, appraisal, or the next permit. Keep the set current.
- Choosing a contractor by the lowest bid without reading the scope. A cheap bid cut the compaction, cut the flashing, or skipped the permit. Compare line items, not totals.
See the difference
 Before
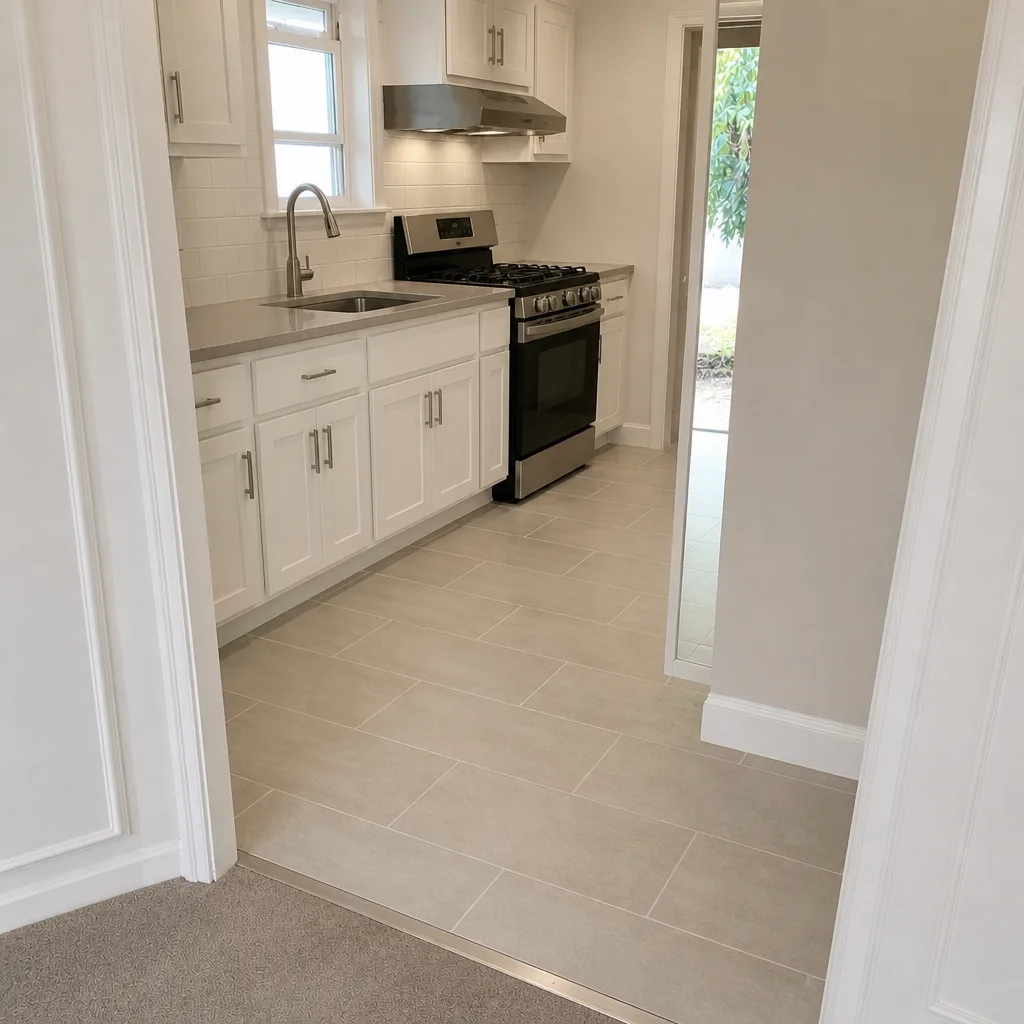 After
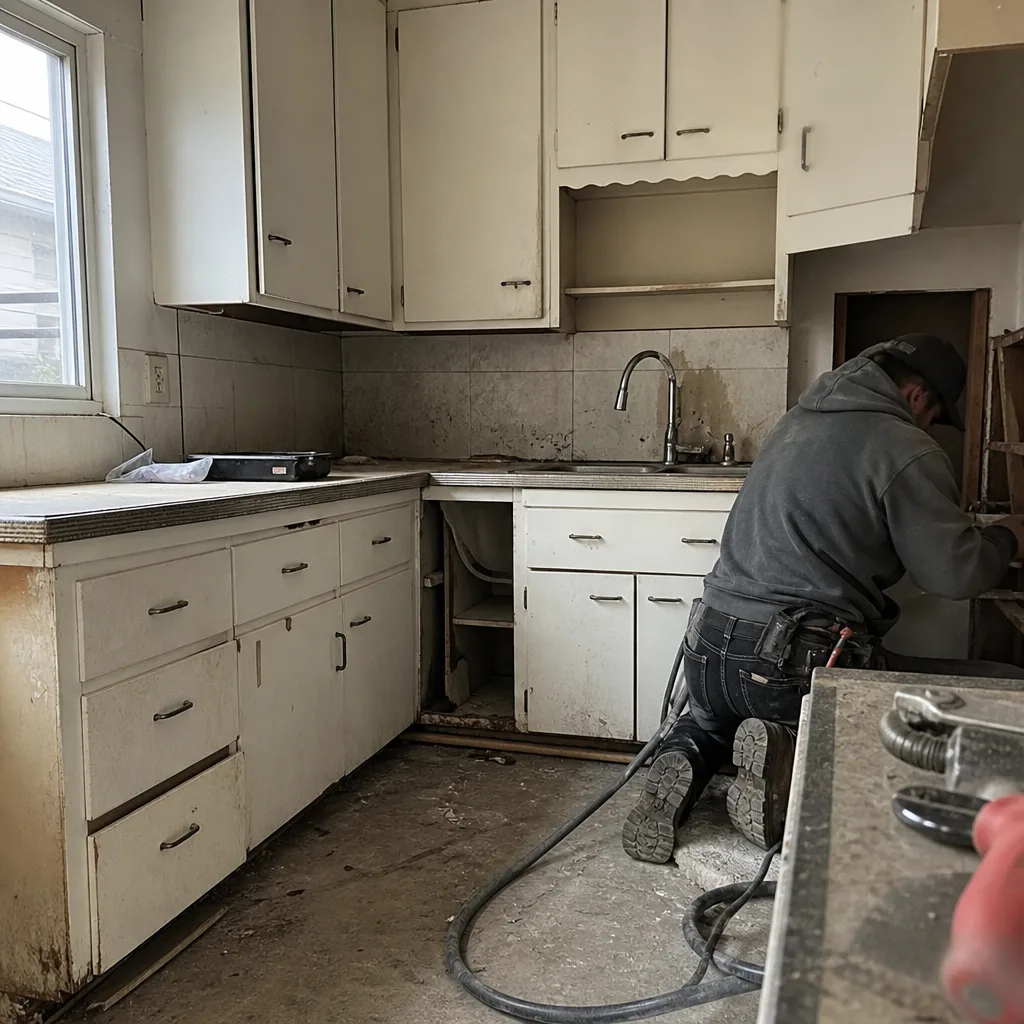 Before
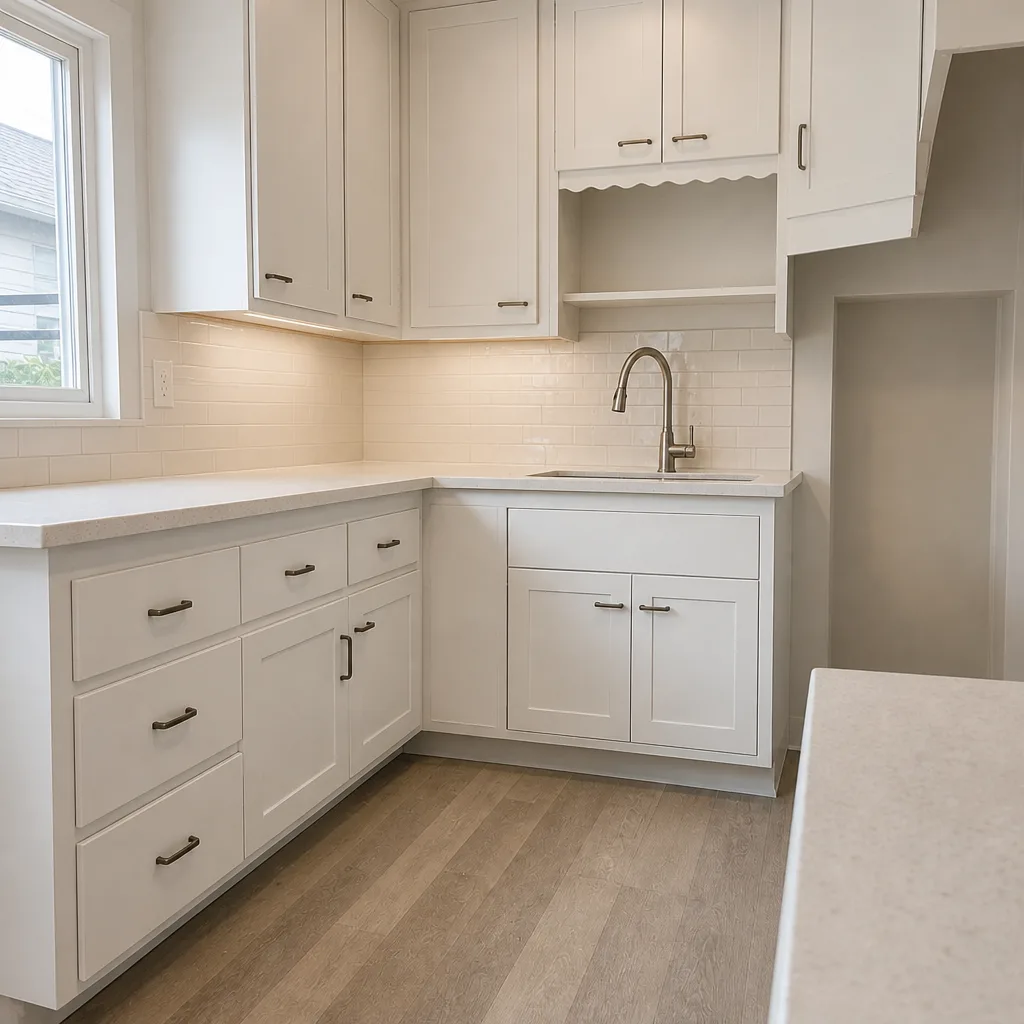 After
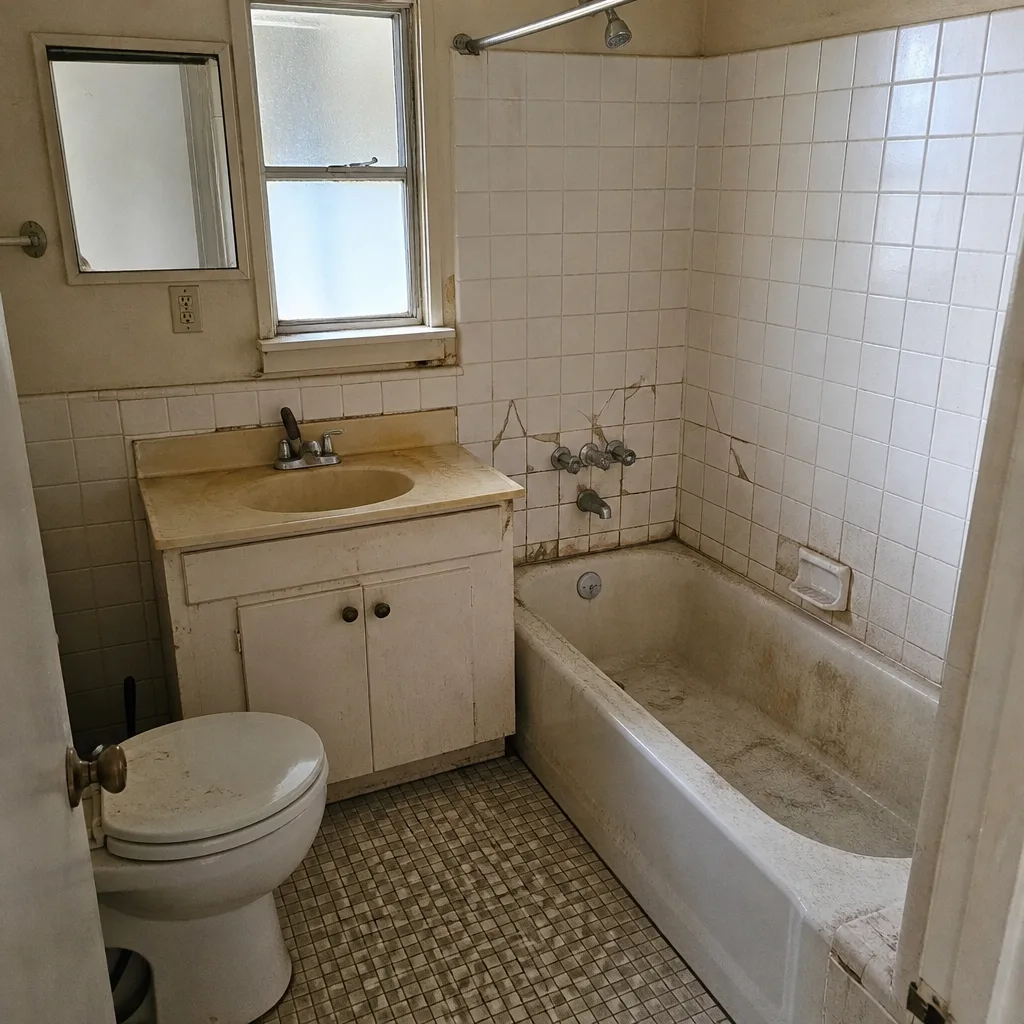 Before
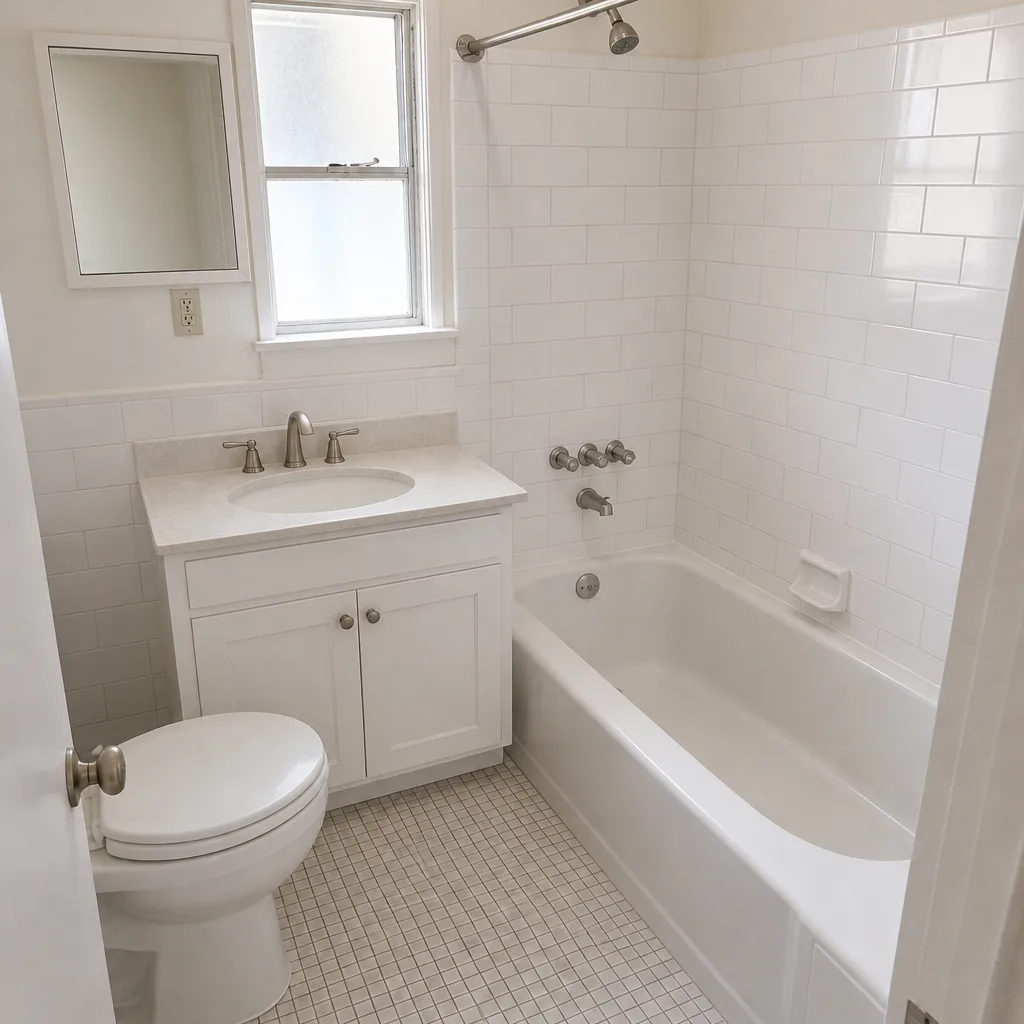 After
When to Call a Professional
Some issues are genuinely homeowner-level. Others are not. Call a professional for water staining that appears anywhere inside a new addition, foundation cracks wider than a hairline, floors that deflect visibly, HVAC rooms that can’t condition after a full day, and any window or door that has become dramatically harder to operate in a short window. These are warranty-call triggers on any well-built project; if you’re within your 730-Day Done Right Promise, they’re covered. Call a professional, not a handyman, for anything involving structural movement or moisture behind a wall. The right move is a documented report and inspection. If you’re planning a new addition and want the site walk done before design, Groundwork Construction Co. of Berkeley offers free estimates in Berkeley, call (855) 471-4163. Need a related project handled at the same time, like the exterior hardscape, our Driveway & Pavers in Berkeley team can coordinate with the build.
Frequently Asked Questions

Water intrusion is the most common post-occupancy issue we see on Berkeley additions, and it’s fixed by correcting the flashing and weather-barrier detail at the source, not by patching caulk over the symptom. If you see staining, stop and get it inspected immediately; the fix is cheapest the week you notice it. Call (855) 471-4163 for a free estimate and inspection.
Not all cracks are serious; hairline cracks from normal curing are cosmetic. A crack wider than a hairline, or one you can slip a coin into, points to a pour or site-prep problem and needs a professional diagnosis. In those cases the fix begins with the structural report, not the cosmetic patch. Call (855) 471-4163 and we’ll come look.
Normal settling shows up as cosmetic hairline drywall cracks, minor nail pops, and doors that stick slightly in humid months. A floor that visibly deflects, water staining, or a door that suddenly operates very differently is not normal, and a 90-day walkthrough catches both. We run that walkthrough as part of the job for every Berkeley client.
Yes, permits are part of every addition and ADU we build, and we coordinate the inspections from foundation through final. An unpermitted addition is a resale liability, and we don’t put our name on one. Call (855) 471-4163 to plan your permit and build.
The Contractors State License Board (CSLB) is the state agency that licenses contractors and accepts complaints against them; it can investigate and pursue enforcement. A well-documented complaint with photos, change orders, and the approved plans moves much faster than a vague one. Having a documented, written warranty from day one is the real protection.
It depends entirely on the root cause and phase, which is why early diagnosis matters. A flashing catch during rough-in can cost a few hundred dollars to correct; a wall rebuild from the same missed detail after two wet winters runs into five figures. That’s the gap this whole guide is about. Call (855) 471-4163 for a specific estimate on your project, free.
The Bottom Line
Every addition problem is cheaper the earlier you catch it, and the earlier you catch it, the more you have to know about which phase creates which defect. Foundation cracks are diagnosed in site prep and pour. Framing defects are caught before drywall. Water intrusion is prevented at flashing and enclosure, not fixed by caulk. Disputes are won by documentation and warranty, not by argument. Normal settling is fine; water staining, deflection, and the sudden change are the warranty triggers. Groundwork Construction Co. of Berkeley builds additions from foundation to finish line, and backs the work with the 730-Day Done Right Promise. If you’re planning a project, call (855) 471-4163 for a free estimate, and ask us to walk the site with you before design. Our Fence Installation in Berkeley team can handle the perimeter details around the build; when it’s ready, the Home Additions & ADU in Berkeley team is the right first call for the addition itself.
Written by the team at Groundwork Construction Co. of Berkeley.