Last updated November 18, 2026








Free written scope consultation - allowances, timeline, and change-order rules on paper before a single trade is scheduled
Bathroom Remodeling Troubleshooting: Common Problems and How to Fix Them
Tile failure in a shower is never a tile problem. It’s a waterproofing or substrate problem that tile made visible, and fixing it after the fact costs $3,000-$8,000 more than preventing it would have. We’ve pulled apart failed showers across Berkeley where the tile looked flawless for eighteen months and then started tenting off the wall in sheets. Every one of those failures traced back to a decision made in the first week of the project: the waterproofing method, the substrate, or the drain placement. This guide teaches you to audit those three decisions before grout goes in, diagnose the symptoms after the fact, and catch warranty-eligible problems while they’re still the contractor’s responsibility.
Quick Answer
Most bathroom remodel failures come from three early decisions: the waterproofing method (surface-applied membrane versus liner behind a mud bed), the substrate choice (cement board versus greenboard versus a foam board), and drain placement. Symptoms like cracked grout, loose tile, ceiling mold, and slow drains are downstream effects of those choices. Audit waterproofing, substrate, and drainage before final tile, and most failures never happen.
Styles & brands we work with
- Kitchen remodeling
- Bathroom remodeling
- Home additions & ADU
- Roofing
- Windows & doors
- Driveway & pavers
- Fence
Table of Contents
- The Four Failure Patterns and What Actually Caused Them
- How to Audit a Shower Installation Before Tile Goes In
- Vanity and Fixture Problems in Older Berkeley Homes
- Ventilation Failures: The Most Under-Diagnosed Bathroom Problem
- The 30/60/90-Day Post-Remodel Inspection Checklist
- Drain Backup and Slow Drains After a Remodel
- Repair Costs and What Each Fix Actually Involves
The Four Failure Patterns and What Actually Caused Them
Every post-remodel bathroom failure we see in Berkeley falls into one of four patterns. The symptom tells you almost nothing. The cause lives further back in the assembly, and identifying it correctly is the difference between a $400 fix and a $6,000 tear-out.
Grout cracking at corners and along the floor-to-wall joint. Grout is cement-based and rigid. It cracks when the surfaces on either side of it move independently. In a shower, that movement almost always traces to a missing movement joint or a substrate that wasn’t fastened to spec. Tile setter crews that grout the corners instead of caulking them are setting up a crack on a timer. In Berkeley’s older housing stock, we also see this where a shower was set against a wall that shares framing with uninsulated exterior walls, and seasonal expansion does the rest.
Tile delamination, or tile “tenting” off the wall. Delamination is a waterproofing failure wearing a tile costume. The three causes we encounter most: a liner that was punctured during drain install, a moisture barrier installed on both sides of a wall (a double vapor barrier traps moisture in the middle), or thinset applied over a surface that was dusty or painted instead of properly prepped. Once the bond breaks, water gets behind the tile and the failure accelerates.
Persistent musty odor that returns after cleaning. Odor that comes back is moisture in a place you can’t see: behind tile, inside a wall cavity, or under a poorly sloped shower floor. A shower floor with an insufficient slope holds a film of water that never drains, and that standing water feeds the smell. If you remodeled and the smell started within months, suspect the shower pan slope before anything else.
Slow drains and gurgling after a remodel. A new vanity and new fixtures should drain better, not worse. When a remodeled bath drains slowly, the likely causes are a P-trap installed too shallow, a vent that got blocked or disconnected during wall changes, or debris (grout, thinset, or a dropped screw) left in the drain line. That last one is common and cheap to fix. The first two are not.
If you’re still in the planning phase and haven’t chosen a contractor, our guide to bathroom remodeling in Berkeley covers how to compare bids on exactly these assembly details, because that’s where bids differ most.
How to Audit a Shower Installation Before Final Tile Goes In
This is the most valuable hour you’ll spend on the whole project. Once tile is set and grouted, every audit step below requires demolition to repeat. Before final tile, you or your contractor can verify the entire waterproofing assembly in about sixty minutes.
- Run a flood test and watch it for 24 hours. A proper flood test plugs the drain, fills the pan with water to just below the curb height, and marks the water line. After 24 hours, the line shouldn’t drop. Any drop means the liner or membrane leaks. Watch for moisture staining at the base of adjacent drywall or on the ceiling below, which is the tell in a second-floor bath.
- Inspect the liner before the mud bed goes down. The liner should run up the walls at least 3 inches above the curb height, be seamless in the pan, and be folded, not cut, at inside corners. Look for staples or nails through the liner below the curb line. Any fastener through the liner below the curb is a future leak.
- Check the scratch coat and preslope. The preslope under the liner must slope toward the drain at roughly 1/4 inch per foot. A flat preslope traps water on top of the liner permanently. You should be able to set a level on the preslope and see daylight under the downhill end.
- Verify the drain connection. The clamping drain must have the liner sandwiched between its two rings, with the weep holes clear. Weep holes plugged with thinset are one of the most common causes of a shower that smells within a year.
- Confirm backer board joints and fasteners. Cement board joints should be taped and mudded, and fasteners should be set at the manufacturer’s spacing without blowing through the face. Behind the seams, check that the board isn’t butted tight into the corners, which causes cracking as the framing moves.
- Ask what waterproofing method is being used and where. Surface-applied membrane over cement board and a traditional liner behind a mud bed are both legitimate methods. What’s not legitimate is a hybrid that uses a vapor barrier behind the board and a surface membrane in front, which traps moisture. Get this answer in writing before tile.
Berkeley’s older homes add one wrinkle: many bathrooms sit over a framed floor with a crawl space below, and the preslope and drain connection are viewable from underneath. If your contractor won’t let you look, that’s an answer in itself.
Vanity and Fixture Problems in Older Berkeley Homes
Bathroom remodels in Berkeley’s older housing stock run into fixture problems that newer construction doesn’t. The houses are often 80-100 years old, and the plumbing has been partially updated over that time, sometimes by three different plumbers over four decades. Here’s what to watch.
Supply line pressure issues. A new vanity with a modern faucet can reveal low pressure that was masked by an old fixture with a wide-open flow path. In Berkeley, the common culprits are galvanized supply lines that have narrowed internally with mineral buildup and pressure-reducing valves set too low at the main. If your newly remodeled bath has weak flow at one fixture but not others, the restriction is in the supply line to that fixture, not the faucet. A quick test with a pressure gauge at a hose bib tells you whether the whole house pressure is the problem or just one run.
P-trap configurations in tight vanity cabinets. A 24-inch vanity in a small bath leaves very little room for a P-trap and the drain arm behind it. We routinely see traps installed with too short a tailpiece, which means the trap can lose its water seal and let sewer gas into the room, or traps offset with flex pipe that sags and clogs. If your remodeled vanity smells faintly of sewer after a few days of no use, the trap seal is the likely cause. The fix is usually a properly configured trap and drain arm, not a different vanity.
What a slow drain in a remodeled bath signals. Three things, in order of likelihood: debris in the line from construction, an improperly vented fixture, or a partially blocked main. A remodel should leave the drain performing better than before. If it drains slower, it’s a contractor issue and it’s covered under the workmanship warranty. Call it out inside the warranty window rather than waiting.
Shutoff valves and access. New vanity installs frequently bury the angle stops behind drawers or panels. Every fixture should have accessible shutoffs. If you can’t reach the valve without removing a drawer box, ask for access panels before final trim. This is one of the cheapest problems to prevent and one of the most expensive to deal with after a supply line failure.
Fixture problems in a bath are often part of a larger scope question. If you’re weighing a bath refresh against a full overhaul, our team at Groundwork Construction Co. of Berkeley walks through scope decisions on the home page, including which upgrades pay back and which are money down a drain.
Ventilation Failures: The Most Under-Diagnosed Bathroom Problem
Ventilation is the single most under-diagnosed cause of bathroom problems, and it’s invisible because the fan runs and the mirror clears and the room seems fine. Meanwhile, moisture is loading onto the ceiling and the framing above it. The mold patterns on the ceiling tell you exactly what’s happening.
How to test CFM performance without a flow hood. A bathroom exhaust fan should move enough air to cycle the room’s volume several times per hour. A quick field test: hold a tissue or a strip of toilet paper up to the fan grille with the fan on. It should be pulled firmly against the grille. Then tape a piece of tissue to the grille and watch how long it takes a room with a closed door to show moisture on the mirror after a shower. A fan that clears the room slowly is a fan that’s moving far less air than its rating. Fans are rated in CFM, and a real flow hood or a calibrated anemometer gives you the actual number. Cheap anemometers read low, so treat them as directional.
When a duct run is too long to work. A fan’s CFM rating assumes a short, straight, smooth duct. Every elbow, every foot of flex duct, and every termination through a roof reduces the actual airflow. A 110 CFM fan with three elbows and twenty feet of flex duct might deliver less than half that. In Berkeley, we see a lot of bath fans ducted into the attic and terminated at a soffit or gable vent with twenty feet of flex duct. That runs but doesn’t work. The fix is a shorter run, rigid duct, and a proper exterior termination.
What ceiling mold patterns indicate. A ring of mold around the fan grille means the fan is pulling air but the moisture is condensing at the ceiling before it reaches the fan, which usually points to an undersized fan for the room. Mold spreading across the ceiling in a broad pattern points to a fan that isn’t running long enough after showers, or no fan at all. Mold clustered at the ceiling-wall corner nearest the shower is condensation from cold wall surfaces, and it signals the wall behind the tub needs insulation and sealing as much as it needs a bigger fan.
Berkeley’s cool, damp marine climate makes ventilation failures worse than they’d be in a drier region. A bath that gets away with a marginal fan in Fresno will show mold on the ceiling in Berkeley within a couple of wet seasons.
The 30/60/90-Day Post-Remodel Inspection Checklist
Warranty-eligible issues are the easiest fixes you’ll ever get on a bathroom, because the contractor is still on the hook and the fix is a repair rather than a rebuild. The window closes quietly. Run these checks at 30, 60, and 90 days after the final walkthrough, and photograph anything you find with a date.
At 30 days:
- Check every grout joint at the corners and the shower floor-to-wall joint for hairline cracks. Caulk, not grout, should be at the changes of plane, and caulk that’s already splitting is a call-it-in item.
- Run a fingertip across tile edges on the shower walls and floor. Any hollow “tick” or give is early delamination.
- Look at the ceiling above the shower for any discoloration, and check the corners of the room for new condensation staining.
- Listen to the vanity drain with the water off for a gurgle or a slow drain. A drain that’s slower than at walkthrough is debris or a vent issue.
- Test the exhaust fan with the tissue method described above.
At 60 days:
- Flood the shower floor and watch the drain for backflow or pooling. Pooling water where the floor should slope toward the drain means the preslope is off.
- Open the vanity cabinet and look for moisture at the supply line connections and the P-trap. A slow weep shows as corrosion or a mineral stain.
- Check the caulk at the tub or pan edge and at the backsplash for separation.
- Feel the toilet base for a rock or a wobble. A loose flange or a bad wax ring is a cheap fix now and a floor repair later.
At 90 days:
- Look at the ceiling mold patterns again and photograph any change. Anything growing is a ventilation issue to bring back to the contractor.
- Check the shower door or curtain for water tracking outside the shower threshold. Tracking usually means a floor slope issue or a missing curb pitch.
- Confirm the fan runs long enough after showers to clear the room. Ask for the timer setting to be reviewed if not.
- Walk the entire bathroom with a notepad and photograph anything that looks different from the walkthrough. Documentation beats memory.
Keep every photo and every email. When a fix is warranty work, documentation is what turns a debate into a scheduled repair.
Drain Backup and Slow Drains After a Remodel
A drain backing up after a remodel is either a construction debris problem or a slope problem, and the two call for very different fixes. Distinguish them first, because snaking a line that doesn’t need snaking costs money and sometimes damages the trap.
Construction debris is the most common cause of a drain backup in the first weeks after a remodel. Grout, thinset, and drywall mud get into the drain during tile work, and they cure in the trap or the drain arm. The fix is a camera inspection and a proper cleaning. Grout won’t come out with a drain snake, and pouring chemicals down a fresh trap is a good way to ruin the fittings. Call the contractor and let them handle it, since this is warranty territory.
Slope problems look like a slow drain or standing water after a shower, and they don’t clear with cleaning. If water stands on the shower floor and only slowly finds its way to the drain, the preslope under the tile is too flat or the drain is off-level. This is the one problem in the guide that requires removing the shower floor to fix properly. There’s no shortcut. Surface-level fixes look like a slope correction, but they don’t drain correctly, and the smell comes back.
A venting problem shows up as gurgling, a glug on the drain, or slow drainage at multiple fixtures. When wall framing changes during a remodel, a vent line can get disconnected, blocked, or rerouted incorrectly. A vent inspection is the cheapest way to isolate this from a slope issue.
Also worth knowing: Berkeley’s older plumbing stacks can have lead or cast iron components that interact badly with aggressive snaking or chemical drain cleaners. A camera inspection before cleaning is money well spent, and it also tells you whether a root intrusion into the main line is part of the picture.
Drainage issues aren’t unique to bathrooms. The same lessons about slope, soil movement, and proper base preparation apply to hardscape, and our guide to driveway and pavers in Berkeley covers the drainage side of that scope if you’re planning exterior work alongside the bath.
Repair Costs and What Each Fix Actually Involves
Here’s the unpleasant part of the guide, and it’s worth knowing before you call anyone. Every fix below costs more than the installation step that would have prevented it. Ranges are what we typically see in the Berkeley market; they’ll vary with bathroom size, tile, and access.
| Problem | Typical Fix | Range |
|---|---|---|
| Cracked grout at corners | Remove grout, caulk with a flexible sealant | $150-$450 |
| Tile delamination (localized) | Remove affected tile, dry substrate, re-set | $900-$2,500 |
| Tile delamination (full shower wall) | Tear out, rebuild waterproofing, re-tile | $4,000-$8,000 |
| Shower pan preslope failure | Remove shower floor, correct slope, rebuild | $3,200-$6,500 |
| Clogged drain from construction debris | Camera inspection and cleaning | $250-$600 |
| Blocked or disconnected vent | Locate, reroute or reconnect vent line | $450-$1,400 |
| Ceiling mold from ventilation failure | Treat, prime, fan upgrade or duct correction | $900-$3,000 |
| Undersized exhaust fan | Replace fan, correct duct run | $450-$1,200 |
| Vanity trap misconfiguration | Refit P-trap and drain arm | $200-$500 |
Notice the pattern. The two cheapest failures to prevent (grout joints and ventilation) get expensive once they compound, and the two most expensive failures to fix (delamination and preslope) are entirely decided in the first two days of rough-in. When you get a bid, ask specifically which waterproofing method is being used, what the preslope specification is, and what fan model is going in. A contractor who can’t answer those questions in writing is a contractor whose warranty you’ll be testing.
Water damage from a bath failure doesn’t stop at the bathroom door. Water that tracks into a ceiling or a floor assembly can reach the framing, and the repair scope grows. If a repair spills into structural work, our page on home additions and ADU in Berkeley covers how additions and structural repairs are scoped, because a bath failure that reaches the framing is a larger project than it looks.
Common Mistakes to Avoid
- Choosing tile before choosing the waterproofing method. Tile is the visible layer; the method behind it decides whether the tile lasts. Pick the assembly first, then the tile. In Berkeley’s older homes, the waterproofing method and the substrate often dictate what tile sizes and weights will actually stay on the wall.
- Grouting corners instead of caulking. Grout is rigid. Corners and changes of plane move with seasonal framing movement, and grout cracks. Use a flexible sealant at changes of plane, and specify this before tile goes in.
- Skipping the flood test. Twenty-four hours of a filled pan is the cheapest diagnostic in the whole project. Contractors who won’t run a flood test typically have a reason.
- Assuming a bigger fan fixes ventilation. A larger fan on a long flex duct run doesn’t move as much air as its rating suggests. Fix the duct first, then size the fan. Many Berkeley baths have fans that are the right CFM and the wrong duct.
- Burying shutoff valves behind drawers. Every fixture needs accessible shutoffs. Ask for access panels before final trim, not after the vanity gets installed.
- Snaking or chemicals on a fresh drain. Construction debris in a new drain is a warranty issue. Snaking or chemical cleaners can damage the trap and turn a free fix into a paid one.
- Ignoring the 30/60/90-day checkpoints. Warranty windows are the best deal you’ll ever get on a fix. A problem you document at 60 days is a covered repair; the same problem at 14 months is your check.
Two of these get missed because they’re decided before the homeowner has any reason to question them: the waterproofing method and the substrate. Our guide to fence installation in Berkeley has the same lesson on the exterior side of the house, where material choice and proper base preparation decide whether the work lasts. The pattern holds whether it’s tile or fence posts: the unseen layer is the one that fails first.
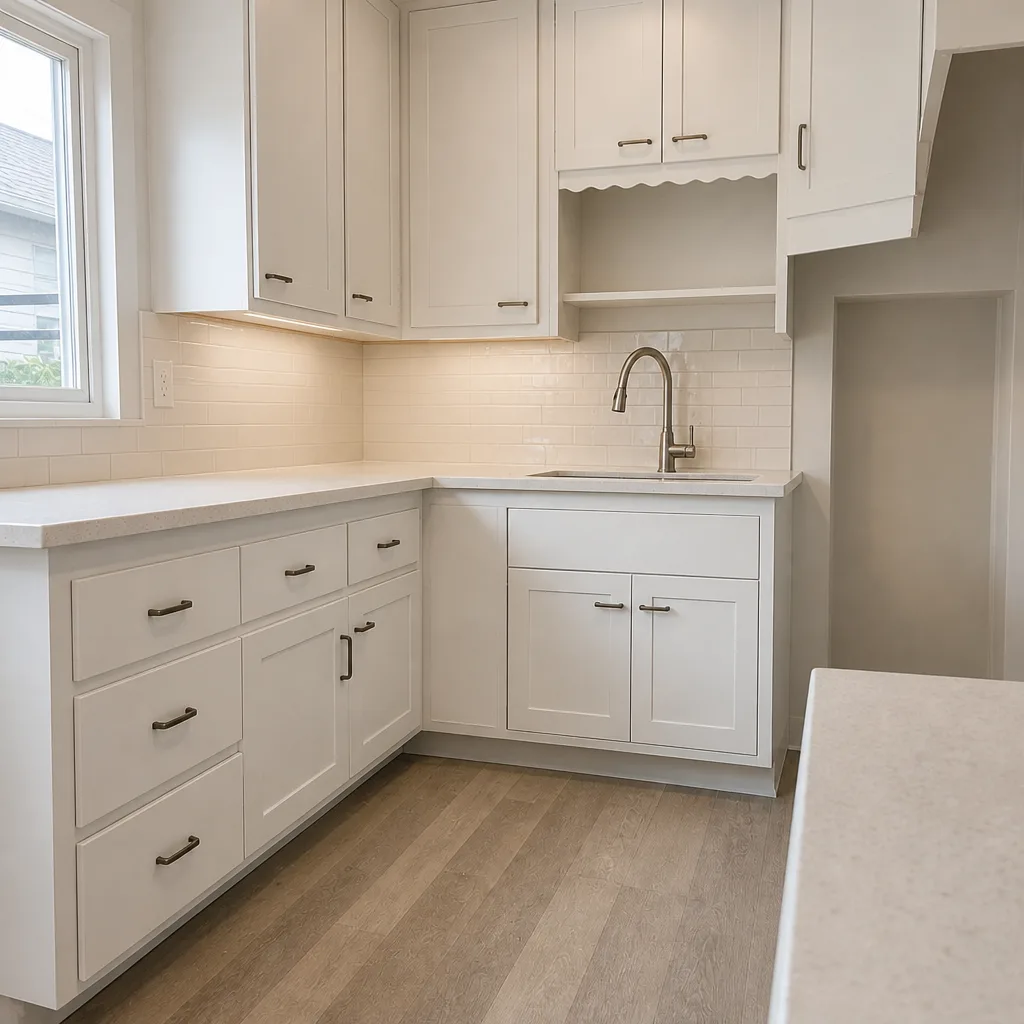
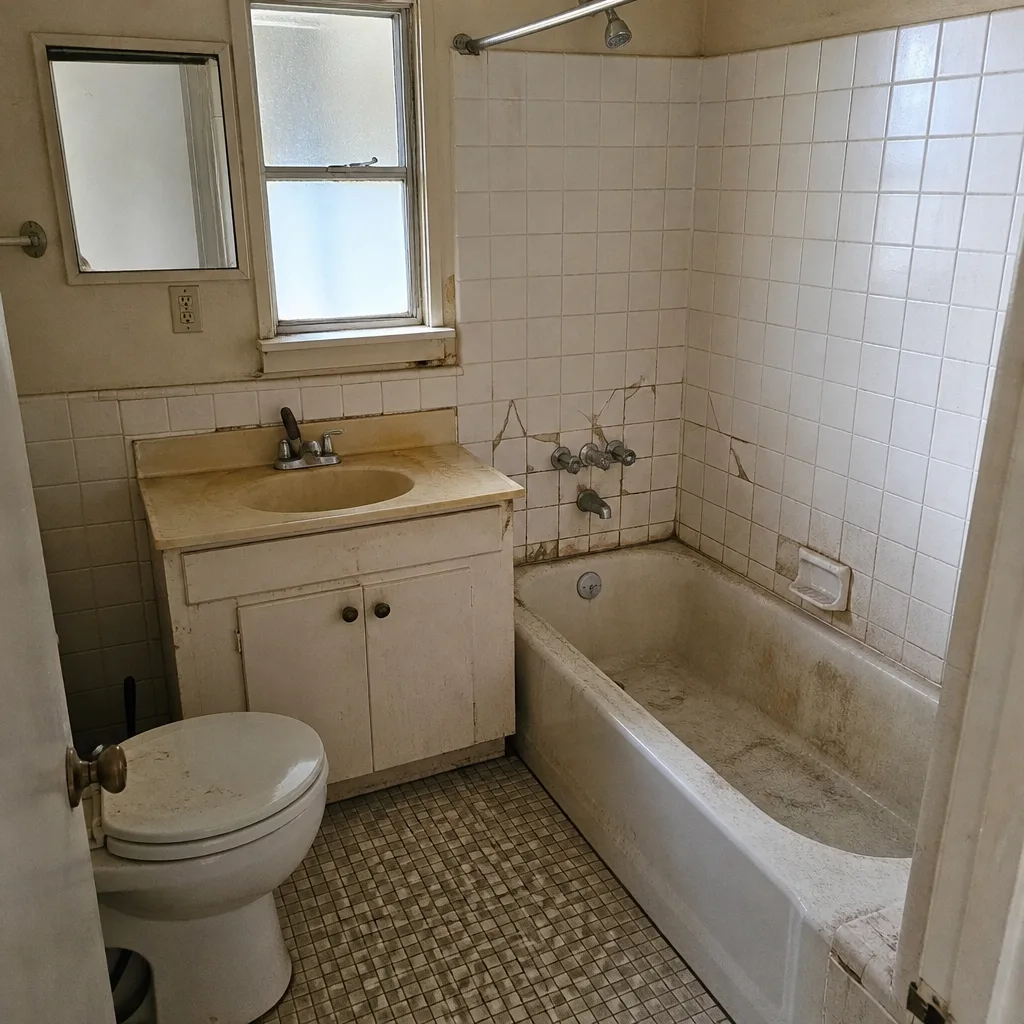
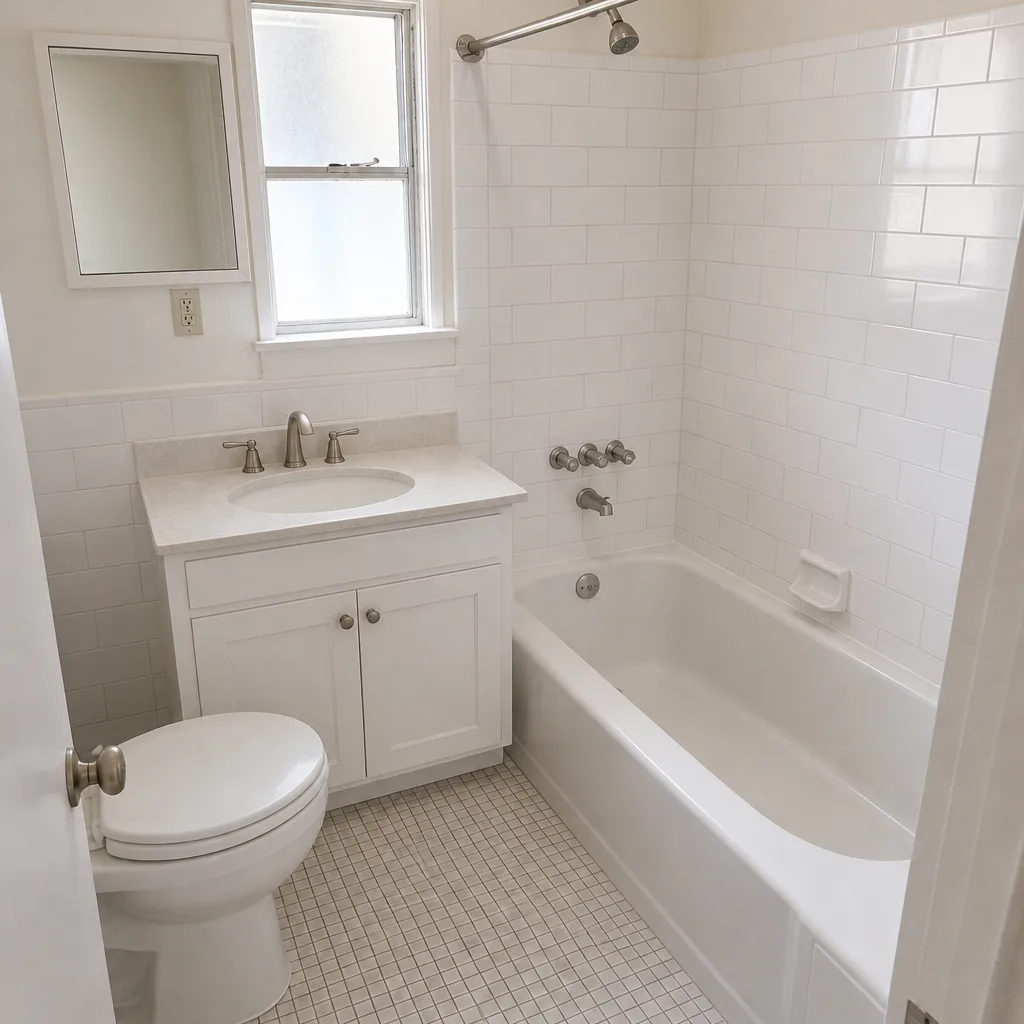
See the difference
 Before
 After
 Before
 After
 Before
 After
When to Call a Professional
Some of these you can handle yourself with a caulk gun and a phone call. Others need a trained eye before they turn into a rebuild. Call a professional when you find any of the following: a hollow spot or give in the tile on a shower wall, water staining on the ceiling below the bathroom, a shower floor that holds standing water, a drain that backs up in the first ninety days after a remodel, ceiling mold that returns within weeks of cleaning, or a crack larger than a hairline in grout at a corner. None of those are DIY fixes, and all of them are covered by a workmanship warranty in the first months. Groundwork Construction Co. of Berkeley offers free estimates in Berkeley; call (855) 471-4163 and we’ll assess what’s happening and what the fix actually involves. We answer the phone with a live person around the clock. Our technicians have up to 12 years of experience, and every project comes with the 730-Day Done Right Promise: if it isn’t done right, we make it right.
Frequently Asked Questions

Grout cracks because the surfaces on either side of the joint are moving independently, usually because a change of plane was grouted rather than caulked or because the substrate wasn’t fastened to spec. The fix is to remove the grout and install a flexible sealant at corners and floor-to-wall joints. If you’re seeing cracks spread along a wall or over a large area, the substrate is the issue and it’s a contractor call. Call (855) 471-4163 for an assessment, and estimates are free.
You can verify most of it before final tile: a 24-hour flood test, a visual check of the liner or membrane before the mud bed, and a look at the preslope for proper pitch toward the drain. After tile, the signs of a waterproofing problem are hollow tile, loose grout at low joints, a persistent musty smell, and staining on adjacent surfaces. In Berkeley, we always look at the crawl space or the ceiling below a second-floor bath, because the leak shows there first.
A musty smell that returns is moisture in a place you can’t see: behind tile, under a shower floor with insufficient slope, or in a wall cavity. In remodeled baths, the most common cause we find is a shower preslope that doesn’t drain, which leaves water on top of the liner. A missing or short P-trap seal under a rarely used vanity is the second. Both are fixable, but the shower pan one involves opening the floor. Call (855) 471-4163 for a diagnostic visit and a written line-item estimate.
The fan’s CFM rating is a starting point, not the delivered airflow. Actual airflow depends on duct length, elbows, whether the duct is rigid or flex, and where it terminates. A simple field test with a tissue against the grille tells you whether the fan is pulling, and a flow measurement tells you how much. If your fan runs and the mirror still fogs and the ceiling shows staining, the fan or duct is undersized for the room. We can size the fan and correct the duct in a single visit; call (855) 471-4163.
Check grout at corners, tile for hollow spots, the shower for standing water, the vanity for moisture and slow drains, and the ceiling for any new staining. Repeat at 30, 60, and 90 days, and photograph anything that changes. The warranty window is the best deal you’ll get on a repair. If you find anything, call (855) 471-4163 and get it scheduled before the window closes.
Not usually, and the attempt can make it worse. Construction debris in a new drain is a warranty issue, and chemicals or aggressive snaking can damage the trap and turn a covered fix into a paid one. A slow drain after a remodel is either debris, a vent problem, or a slope problem, and a camera inspection tells you which. Call the contractor first. Estimates are free at (855) 471-4163, and the visit will tell you whether it’s a warranty repair or a new issue.
The Bottom Line
Bathroom remodels fail early. Waterproofing method, substrate choice, and drain placement decide almost everything that shows up as a symptom six months later, and the audit before final tile is the single most valuable hour in the whole project. Run the flood test, inspect the liner and preslope, and ask your contractor to put the waterproofing method in writing before grout goes in. Then run the 30/60/90-day checks while the work is still covered. If you’re seeing a problem now, get it diagnosed while the warranty is open. Groundwork Construction Co. of Berkeley answers the phone around the clock and offers free estimates in Berkeley. Call (855) 471-4163.
If your bathroom project is part of a broader renovation, our team at Groundwork Construction Co. of Berkeley can scope the whole job from foundation to finish line under one contract and one 730-Day Done Right Promise.
Written by the team at Groundwork Construction Co. of Berkeley.