Last updated November 18, 2026



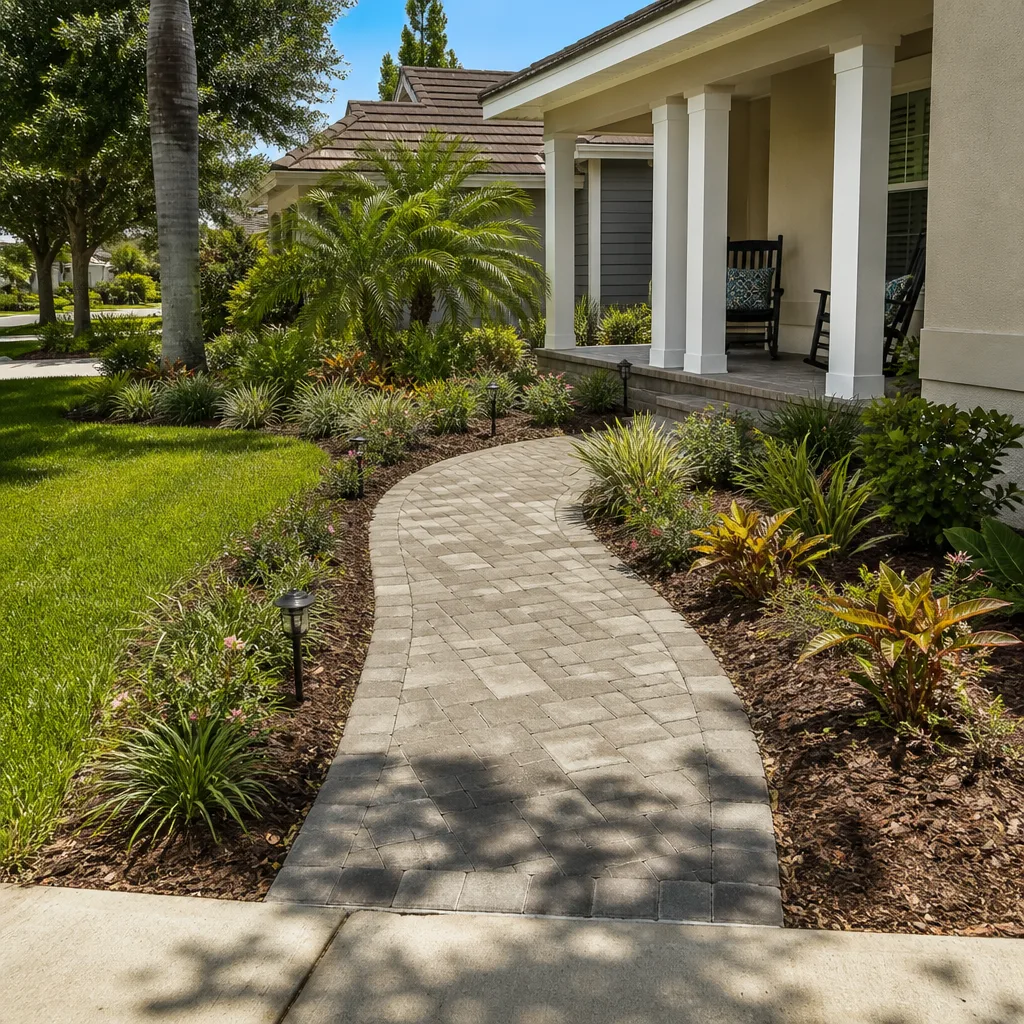


Free written scope consultation - allowances, timeline, and change-order rules on paper before a single trade is scheduled
DIY vs Professional Windows & Doors: What’s Safe to Do Yourself
Installing a window yourself doesn’t just risk a drafty room. Done wrong, it can void the insulated glass unit (IGU) warranty, fail a Title 24 energy compliance check during inspection, and open a water entry point into your wall cavity that won’t show up as interior damage for two or three rainy seasons. That last part is what surprises people. By the time the drywall stains appear in a Berkeley hillside home after a wet January, the framing behind it has often been soft for a while. This guide draws the exact line: which window and door tasks a careful homeowner can genuinely handle, which ones require a licensed contractor in California, and what the real cost difference looks like when you account for the risks that don’t show up on a materials receipt.
Quick Answer
Replacing hardware, weatherstripping, caulk, and interior casing is safe for most homeowners to do themselves. Changing a rough opening, integrating flashing, sealing the exterior against water, and installing a full replacement unit are not DIY-safe in California: they trigger permit and Title 24 requirements, can void the manufacturer’s warranty, and demand licensed, inspected workmanship. The dividing line is water management and structural modification, not the size of the job.
Styles & brands we work with
- Kitchen remodeling
- Bathroom remodeling
- Home additions & ADU
- Roofing
- Windows & doors
- Driveway & pavers
- Fence
Table of Contents
- Which Windows and Doors Tasks Are Actually Safe to DIY
- Why Rough Opening, Flashing, and Exterior Sealing Need a Licensed Contractor
- California Permits and Title 24: What Triggers a Real Window Job
- What Manufacturer Warranties Actually Say About DIY Installation
- The Real Cost Comparison: DIY vs Professional Windows & Doors
- Doors Are a Different Animal: Entry and Patio Doors
- What Makes Window and Door Work Different in Berkeley
- How to Choose a Contractor If You Do Hire Out
Which Windows and Doors Tasks Are Actually Safe to DIY
There’s a real list of jobs you can do yourself without putting your warranty, your inspection, or your wall cavity at risk. Most of them are about maintenance, not installation. If your windows are otherwise sound and you’re dealing with a sticky sash, a drafty edge, or a tired-looking trim, that’s your territory. In our experience, a homeowner who replaces worn weatherstripping and refreshes caulk every few years gets more comfort improvement per dollar than almost any other maintenance task.
These are the tasks we’d hand a capable homeowner without hesitation:
- Hardware replacement. Cranks, casement operators, sash locks, and handles are bolt-on parts. Match the brand and model stamped on the existing hardware and swap it out. One caution: don’t force a crank that’s seized; a stripped operator housing is a bigger repair.
- Weatherstripping. Foam tape, V-strip, and bulb seals on doors and sliding windows are consumables. Peel, clean, reapply. Test the seal with a dollar bill: if it slides out with no resistance, the strip is too thin.
- Caulk refresh on interior joints. Interior casing-to-drywall caulk cracks with seasonal movement. Cut out the old bead, clean, and re-caulk with a paintable acrylic. This is cosmetic and safe.
- Interior casing and trim. If you’re only replacing the visible interior molding and the window unit stays put, that’s finish carpentry, not window work.
- Window cleaning and track maintenance. Clear weep holes (the small slots at the bottom of the exterior frame) of debris. Clogged weep holes are a common, cheap-to-fix cause of water pooling on the sill.
- Touch-up painting on interior trim. Cosmetic.
The test for “safe to DIY” is simple: does the task involve opening the building envelope, changing the size of the opening, or taking responsibility for water getting behind the exterior cladding? If the answer is no, you can handle it. If the answer is yes, you’re into permit and warranty territory. We’ll get to that next. The payoff for knowing the line is that you don’t waste money hiring out a $60 caulk job, and you don’t gamble $4,000 on a window you shouldn’t have installed yourself.
Why Rough Opening, Flashing, and Exterior Sealing Need a Licensed Contractor
Water is patient. It doesn’t announce itself. A window that’s flashed wrong can look perfect from inside for years while moisture quietly works into the sheathing and framing behind the exterior. In a climate like Berkeley’s, where you get concentrated wet winters followed by dry summers, that cycle of wet-and-dry is exactly what rots wood and grows mold on the back side of drywall. By the time you see a stain inside, the repair has usually moved from a window job to a wall-cavity job.
Three specific things require a licensed contractor in California, and they’re not optional:
- Rough opening modification. If the new unit is a different size than the old one, the framing has to change. That means header work, jack studs, and sometimes shear-wall considerations. A structural change in a seismic zone is not a weekend project, and in Berkeley, seismic detailing matters more than in most of the country.
- Flashing integration. Flashing is the layered system that directs water out and away from the opening: sill pan, back dam, house wrap integration, and the proper sequencing of each layer so water always flows downhill and outward. A single reversed lap or a missing sill pan is enough to channel water straight into the wall. This is the single most consequential part of window installation and the part most homeowners don’t see.
- Exterior sealing. The exterior seal is the last line of defense and it has to be compatible with your specific cladding, stucco, wood siding, or fiber cement. Getting the sealant type and joint design wrong causes failure that looks fine for a season or two.
This is why full-scope work and inspection records matter. When you work with a licensed contractor, the work is inspected, the water management detail is on record, and the workmanship is backed in writing. That’s the difference between a window that lasts and one that lasts until the first really wet year. It’s also why so much window and door work overlaps with the more structural scope we handle elsewhere in a home, from full home construction in Berkeley to additions where openings change entirely. If you’re already considering adding onto the house, the window question usually isn’t isolated, and it’s worth understanding how home additions and ADUs in Berkeley handle openings and energy compliance from the start.
California Permits and Title 24: What Triggers a Real Window Job
Here’s the part that surprises a lot of do-it-yourselfers. In California, a simple like-for-like window replacement (same size, same location, same glass performance) often doesn’t require a building permit. But the moment the opening size changes, or you combine the replacement with any structural work, you’ve crossed into permit territory. And regardless of whether a permit is pulled, the replacement glass has to meet state energy code (Title 24) for your climate zone. Berkeley is in Climate Zone 3, which sets specific U-factor and solar heat gain coefficient (SHGC) requirements for replacement windows.
So what does that actually mean for you?
- Like-for-like swap, no size change: often no permit, but the glass must meet Title 24 for Climate Zone 3. If you buy the wrong unit, the code issue is on you.
- Any change to the rough opening size: permit required. This includes widening a window, converting a window to a door, or adding a new window where there wasn’t one.
- Egress windows: if the window is a required emergency exit from a bedroom, its dimensions are regulated and inspected. Getting an egress window wrong is a life-safety failure, not a comfort issue.
- Combining with a larger remodel: the whole project’s compliance is assessed together, which is why additions and window upgrades often get pulled on the same permit.
Failing inspection means re-work. Re-work on windows frequently means re-opening the wall, re-flashing, and re-replacing material that got damaged when a non-compliant unit was pulled out. We’ve been pulled into Berkeley projects where a prior owner’s DIY window job failed inspection and the cost to redo it properly was higher than the original professional quote would have been. The permit isn’t bureaucracy for its own sake; it’s the mechanism that catches a water-management detail or a code-violating unit before it gets sealed into a wall.
What Manufacturer Warranties Actually Say About DIY Installation
This is where the sales counter and the warranty document tell two different stories. When you’re buying a PGT or CGI window at a supplier, the conversation is about glass, frames, and features. It’s rarely about who is allowed to install it. The written warranty is a different document, and it’s the one that governs when something goes wrong. Read it before you buy, not after the glass fogs.
Most major window manufacturers structure their warranty around two distinct parts:
- The glass/IGU warranty. The insulated glass unit is the sealed sandwich of two panes and the gas or air between them. Its warranty usually covers seal failure, which is what causes the cloudy, foggy look between panes. Many manufacturers condition coverage on installation being done by a qualified or approved installer. A DIY installation using methods outside the manufacturer’s written instructions can void this coverage, meaning a fogging IGU on a $5,000 set of windows is on you to replace, not the manufacturer.
- The frame and finish warranty. This covers the extrusion or frame material. Similar condition: the warranty typically assumes standard installation. A water-damaged frame that rotted because the exterior seal failed is not a frame defect, and a warranty claim for it will be denied.
What salespeople imply and what the warranty says often diverge on one specific point: responsibility for water intrusion. The product warranty covers the product. It does not cover the wall cavity, the drywall, or the framing around the window. Those failures are the responsibility of whoever installed the unit. If that’s you, that’s you. If it’s a licensed contractor with a written workmanship guarantee, that’s the guarantee’s job. This is exactly why workmanship language matters. Our 730-Day Done Right Promise exists to name who owns a failure and for how long; if it’s not done right, we make it right. A homeowner reading a warranty and a subcontractor’s invoice side by side should be able to see clearly who carries which risk. Very often, that clarity is worth more than the materials savings of a DIY install.
The Real Cost Comparison: DIY vs Professional Windows & Doors
The DIY math usually starts with the price of the window and stops there. The professional quote looks bigger because it bundles materials, labor, permit, disposal, and warranty. But the comparison that matters is the total cost when something goes wrong, not the sticker on the box. Here’s a realistic line-item breakdown for a window or door replacement in the Berkeley area, framed as a range across the scope of common jobs:
| Line Item | What It Covers | Rough Range |
|---|---|---|
| Window or door unit (materials) | Standard vinyl or wood-clad replacement unit, single opening | $400 – $1,400 |
| Professional installation labor | Removal, prep, install, flashing integration, interior and exterior finish-up | $300 – $800 per opening |
| Permit (if opening size changes or combined with structural work) | Building permit, plan review, inspection | $150 – $600+ |
| Disposal of old unit | Haul-away | $50 – $150 |
| Trim and interior finish | Casing, sill, paint touch-up | $100 – $400 |
| Water-intrusion remediation (if flashing fails) | Opening the wall, replacing rotted sheathing, re-flashing, re-finish | $1,500 – $8,000+ |
| Inspection re-work (if permit or code violation) | Removing failed work, re-installing to code, re-inspection | Can exceed the original job cost |
Read that table honestly. A DIY install saves you the labor line ($300 to $800 per opening) and possibly the disposal line, but it puts the bottom two lines squarely in your lap. If flashing goes wrong, or a Title 24-compliant unit wasn’t used, the remediation cost can be several times what you saved. And those are just the visible costs. The hidden DIY risks are the quiet ones: trim you damaged removing the old unit, the sheathing you didn’t know was soft until you opened the wall, the manufacturer who reads the installation record and denies the claim. Materials waste alone (a unit bought in the wrong size, a damaged frame from a rough removal) can wipe out the labor savings on a single window. When you account for all of it, the professional vs. DIY gap on a full window job is smaller than the raw labor number suggests, and it can flip entirely once a single water-intrusion repair enters the picture.
Our approach to this is straightforward: upfront pricing with a written, line-item quote before the work begins, so the number you see is the number you pay. Combined with 0% financing for 18 months and $1,000 off projects over $10,000, a full window replacement on a Berkeley home is often closer to a DIY budget than most homeowners expect. That’s why we always say call us for the estimate before you assume the DIY route is cheaper; a free quote costs you nothing and gives you a real comparison.
Doors Are a Different Animal: Entry and Patio Doors
Interior doors are the most DIY-friendly door work there is. If you have two people, a level, and a bit of patience, hanging a hollow-core interior door is a legitimate weekend project. Exterior doors and patio doors are not the same job, and the difference isn’t just size.
An exterior entry or patio door has to do three jobs at once: close securely, keep water out, and, in Berkeley, resist lateral loads as part of the building envelope. That means the rough opening has to be square and plumb, the flashing and sill pan are critical, and the door has to be shimmed and anchored correctly so it doesn’t sag or bind within a year. Sliding patio doors add track alignment and drain-path details that are easy to get subtly wrong. A door that lets in water doesn’t usually announce it; it stains the sill plate and the bottom of the jamb over a season or two.
We’ve handled enough exterior door and patio door replacements in Berkeley to know where the homeowners getting into trouble always are: at the sill and at the threshold. Those are the two places you cannot afford to guess. Interior door swaps, on the other hand, are the only door job we tell homeowners to just do themselves. It’s the one clear yes on the door list. If your scope is larger, broader door and opening changes usually ride along with the bigger work, which is where our work on additions and ADUs in Berkeley frequently covers doors, thresholds, and energy compliance in one permit.
What Makes Window and Door Work Different in Berkeley
Berkeley isn’t a generic backdrop for a window job. It’s a specific climate, a specific housing stock, and a specific code environment, and each of those changes what good work looks like.
Climate. Berkeley gets concentrated winter rain, not a slow drizzle, and the wet season is followed by a dry summer. That pattern stresses the exterior seal and flashing more than a consistently dry or consistently wet climate would, because the wood goes through cycles of saturation and drying. Window and door failures that would be cosmetic somewhere else can turn into rot here in a few seasons. The hillside neighborhoods and older homes higher in Berkeley also catch more wind-driven rain, which is unkind to a poorly sealed sill.
Housing stock. A lot of Berkeley homes are older, which means non-standard rough openings, sometimes original single-pane windows, and occasionally framing conditions you can’t see until the old unit comes out. That’s a reason to plan for what might be behind the wall, not a reason to avoid the work. It’s also a reason to have a contractor who knows how to handle a surprise, rather than a weekend of YouTube tutorials and hope.
Code environment. Berkeley is a Title 24 climate zone with active, well-enforced inspections, and the city takes egress and energy compliance seriously. A window replacement that ignores the energy code or an egress dimension is a real problem, not a paperwork one. Combine that with the seismic considerations on structural work and the reasons to have licensed, inspected work on anything touching the envelope get very clear.
A note on materials. With our curated set of brand partners across trades (Andersen and Marvin for windows, and PGT, CGI, CWS, or ES Windows depending on the home), the point is that we’re not steering you to the cheapest available unit. We’re matching the unit to your climate zone, your home’s construction, and the energy compliance you actually have to meet. That’s part of why the work holds up across the rainy seasons.
This isn’t unique to windows, either. The same climate and code realities shape how we think about every exterior element, which is why the conversations we have over fence installation in Berkeley or driveway and paver work in Berkeley end up sounding a lot like the window conversation: plan for water, respect the code, and don’t guess at the details that show up in a wet winter.
How to Choose a Contractor If You Do Hire Out
The one thing more expensive than a well-done professional job is a poorly done professional job, so who you hire matters as much as whether you hire. Here’s what to look for, in order of importance:
- Licensed and insured. Verify the license number and insurance before work starts. In California, window and door installation on the envelope is licensed work.
- Pulls the permit. If your job crosses the threshold (size change, structural work, egress window), the contractor pulls the permit. A contractor who offers to skip the permit is offering you a liability transfer.
- Written, line-item, upfront pricing. You should see the material, labor, permit, and disposal lines before you sign. A single round number with no breakdown is a red flag.
- Named workmanship guarantee. Ask how long the workmanship is covered and what “covered” means. A guarantee that doesn’t name a duration and a remedy isn’t a guarantee. Our 730-Day Done Right Promise is one of the longest workmanship guarantees in the residential space because it names the duration and the remedy in writing.
- Background-checked, uniformed technicians. A crew that shows up verified and in uniform is a sign the company takes the job seriously. An unmarked van and no introduction is the other signal.
- Answers the phone. When a window leaks, you don’t want a voicemail black hole. Calls to our line are answered by a live person 24/7; that’s a commitment, not a claim.
- Brand partners you recognize. The material brands on a quote tell you something about the job. When the window is Andersen, Marvin, or a brand like PGT or CGI, you know the unit itself isn’t where the shortcuts are being taken.
Common Mistakes to Avoid
- Assuming a like-for-like swap is automatically permit-free. Same-size replacement in California often needs no permit, but the glass still has to meet Title 24 for Climate Zone 3. Buying a non-compliant unit in Berkeley trades a permit fee for an inspection failure.
- Overlashing or reversing the flashing. Each layer has to sit above the one below it so water flows down and out. Reversed laps channel water into the wall, and the damage won’t show for two or three rainy seasons, by which time it’s structural.
- Skipping the sill pan. Behind the sill is where exterior door and window water intrusion starts. A window with no sill pan, or a door threshold sealed only with caulk, is a slow leak waiting for the first big winter storm.
- Buying the wrong unit for the opening. Measuring inside the rough opening and measuring to the finished opening are different, and a small error can mean a window that doesn’t fit or a frame that’s stressed. Materials waste on window units kills most DIY cost savings fast.
- Assuming the warranty covers the install. The manufacturer product warranty covers the product. It does not cover water intrusion, the wall cavity, or the drywall. Read the installation clause before you buy, not after the IGU fogs.
- Not refreshing caulk and weep holes. Even a professionally installed window needs maintenance. Clogged weep holes in a Berkeley rain season cause water pooling on the sill that does short work of a finish.
- Hiring anyone who offers to skip the permit. That’s not a favor, it’s a liability transfer. For any job that touches the envelope, the permit and the inspection are the point.
See the difference
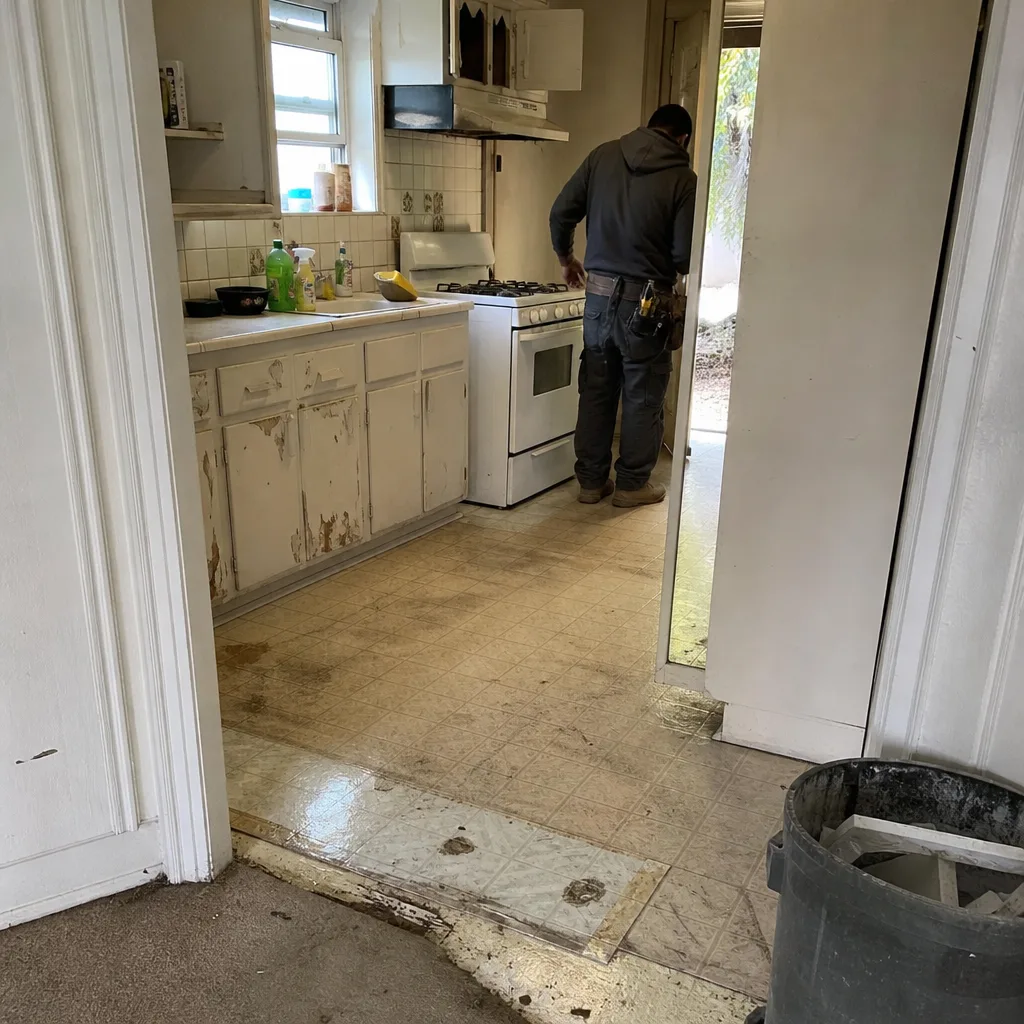 Before
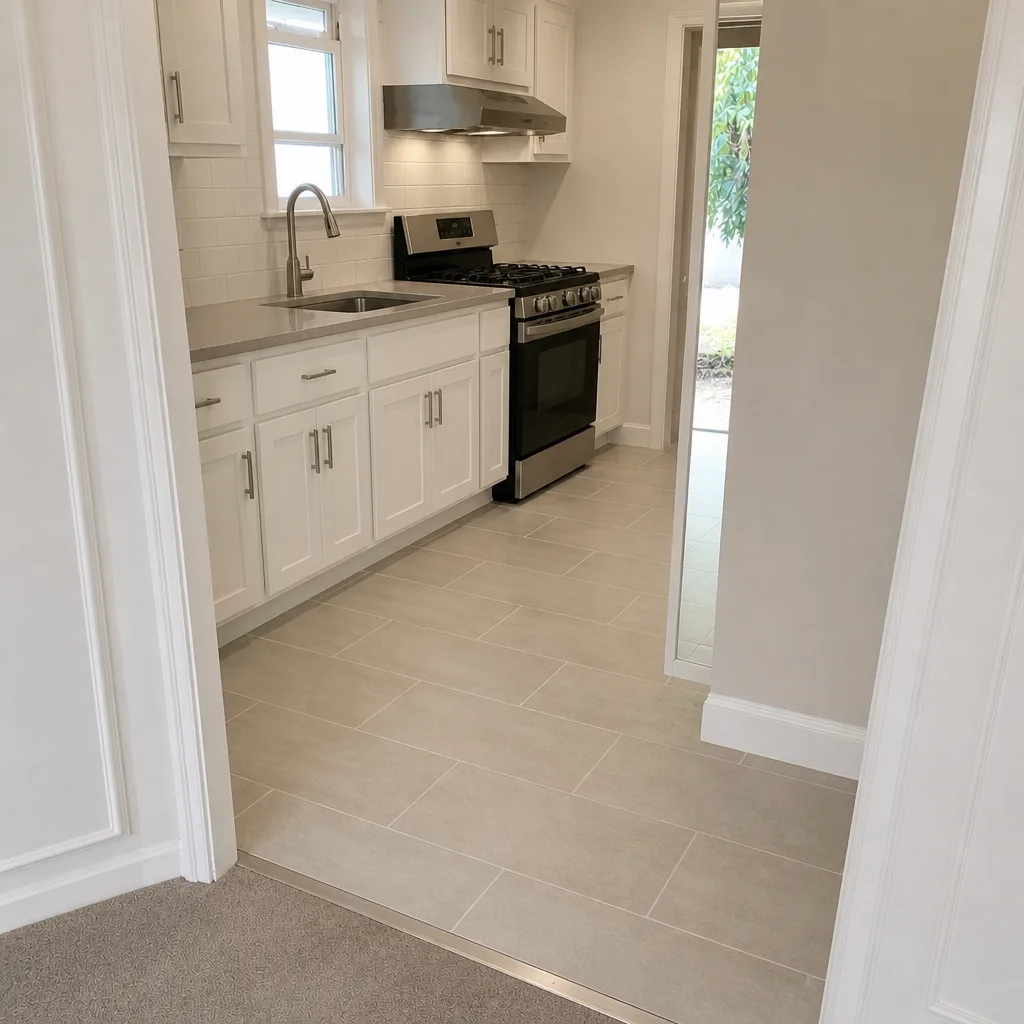 After
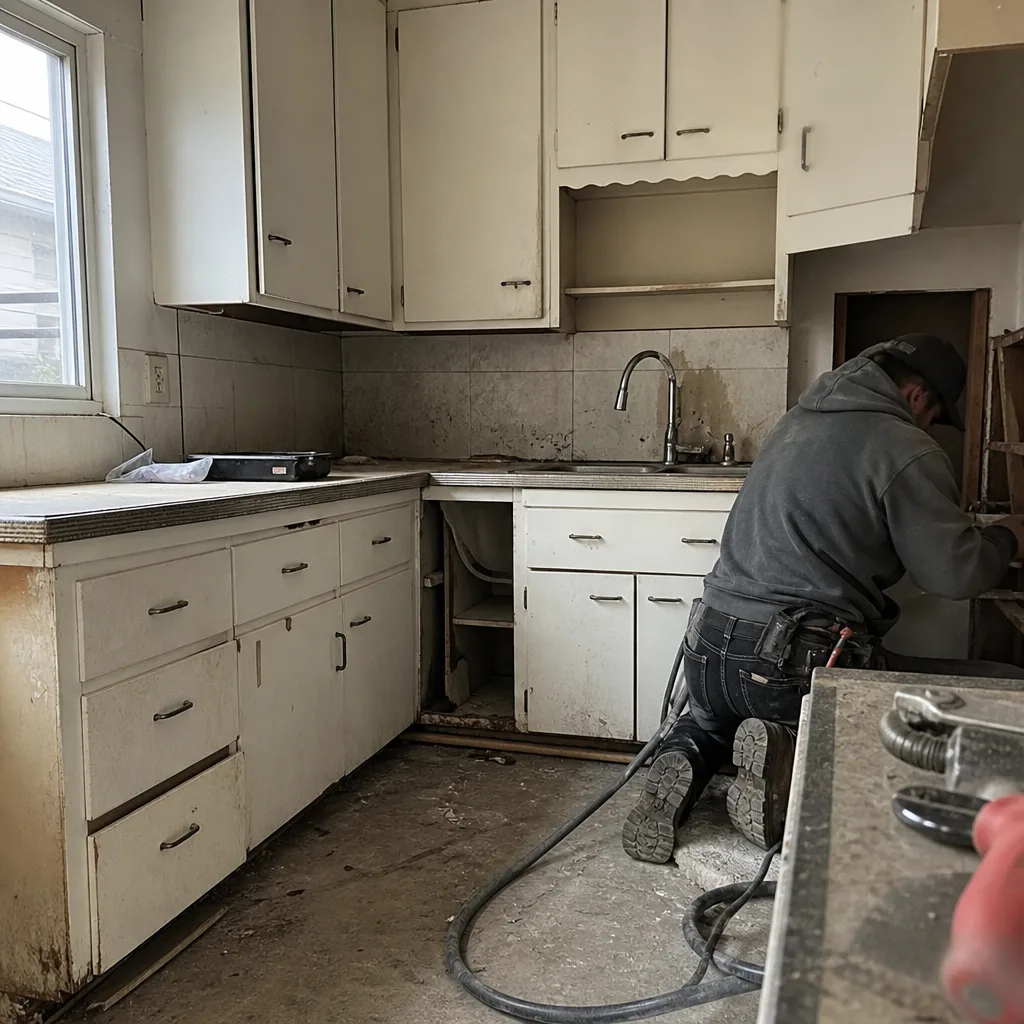 Before
 After
 Before
 After
When to Call a Professional
Call a professional the moment your job crosses any of these lines: the rough opening is changing size, the window is a required egress point, the work overlaps any structural change, or you can’t confirm the new glass meets Title 24 for Climate Zone 3. The same is true for any exterior entry or patio door, where water management at the sill and threshold is the whole game. If you’re not sure which side of the line your job falls on, that’s also a call. Replacing hardware, weatherstripping, caulk, and interior casing never needs a call. Full replacement and structural work does. Groundwork Construction Co. of Berkeley offers free estimates throughout Berkeley, and we’ll tell you straight if you can handle a job yourself; call (855) 471-4163 to schedule yours.
Frequently Asked Questions

You can physically install a window yourself, but a full replacement is not DIY-safe in most cases. Full replacement triggers Title 24 energy compliance and, when the opening size changes, a building permit and inspection, and it can void the manufacturer’s warranty. Hardware, weatherstripping, caulk, and interior casing are safe to handle yourself. Call (855) 471-4163 for a free estimate on anything beyond maintenance.
A like-for-like replacement with no size change often does not require a permit, but the glass still must meet Title 24 for Berkeley’s Climate Zone 3. Any change to the rough opening size, any new window, any window-to-door conversion, and any combination with structural work does require a permit and inspection. When in doubt, pull the permit. Call (855) 471-4163 and we’ll tell you which side of the line your job is on at no cost.
It can. Many manufacturers condition the glass/IGU warranty and the frame warranty on installation being done by a qualified installer following written instructions. DIY installation outside those instructions can void coverage on a fogging IGU or a damaged frame. Read the installation clause in the warranty document before you buy, not after. For a straight answer on the warranty for a specific unit, call (855) 471-4163.
Professional window replacement in the Berkeley market typically runs $400 to $1,400 for the unit plus $300 to $800 in installation labor per opening, plus permit, disposal, and trim. DIY saves the labor and disposal lines but adds real risk: materials waste, damaged surrounding finishes, and the potential for a $1,500 to $8,000+ water-intrusion remediation if flashing or sealing fails. Call (855) 471-4163 for an exact line-item quote; estimates are free and the number you see is the number you pay.
Interior hollow-core doors are genuinely DIY-friendly. Exterior entry and patio doors are not. They require correct flashing and sill pan integration, proper shimming, and threshold detailing, and getting any of those wrong causes water intrusion that surfaces a season or two later. For a Berkeley exterior door, that’s contractor territory. Call (855) 471-4163 to schedule a free estimate.
With us, no. We give upfront, line-item pricing before the work begins, and the number you see is the number you pay. The one honest exception is when opening the wall reveals a hidden condition a quote can’t see (rot behind an old window, for example); in that case you approve any change in writing before it happens, never after. Call (855) 471-4163 and we’ll walk you through the scope and the pricing in writing before anything starts.
The Bottom Line
Window and door work belongs on both sides of the DIY line, and the line is specific. Hardware, weatherstripping, caulk, and interior casing are yours to handle. Rough opening changes, flashing integration, exterior sealing, and any exterior door are contractor territory in California because they trigger permits, Title 24 compliance, and a real manufacturer-warranty risk. The DIY cost comparison looks favorable only until you price the risks. When you weigh material waste, damaged finishes, and a single failed inspection or water-intrusion repair, the gap between DIY and a professional job shrinks fast. That’s why the smart move on a full window job is to get a licensed, insured, permit-pulling quote first, compare it honestly, and then decide. From foundation to finish line, Groundwork Construction Co. of Berkeley keeps the whole job, and the guarantee behind it, in writing for 730 days.
If you’re ready to stop guessing and get real numbers, call (855) 471-4163 for a free estimate. We answer live, 24/7, and the first conversation costs you nothing. Every project comes with our 730-Day Done Right Promise, background-checked and uniformed technicians, and upfront pricing with no surprises. You can also start by looking at what we do at Groundwork Construction Co. of Berkeley or get a feel for our exterior work with fence installation in Berkeley, driveway and pavers in Berkeley, and home additions and ADUs in Berkeley. Take the guesswork out of your windows and doors; call today and get a written quote you can actually compare.
Written by the team at Groundwork Construction Co. of Berkeley.